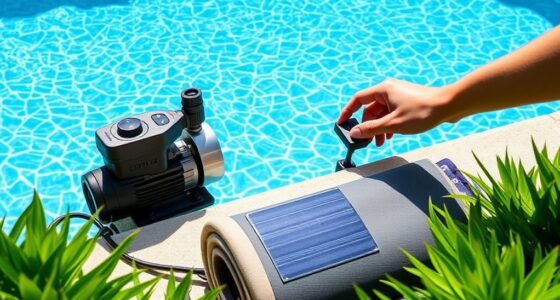

To install a suction pool cleaner, start by gathering your tools and checking that all parts are complete and in good shape. Connect the hose securely to your pool skimmer or fitting, ensuring a tight fit to prevent air leaks. Attach the cleaner to the hose and gently prime it by turning on the pump and submerging the cleaner to release air. Place it in the pool, turn on the pump, and watch its movement—adjust if needed for ideal cleaning. More tips to make the setup easier await you.
Key Takeaways
- Connect the hose securely to the pool fitting or skimmer, ensuring a tight, leak-proof seal.
- Attach the cleaner’s inlet to the hose and adjust its length for proper movement.
- Prime the system by turning on the pump and submerging the cleaner slowly to release air.
- Position the cleaner in the pool near the main drain or skimmer before starting the pump.
- Monitor the cleaner’s movement during operation, making adjustments to optimize coverage and avoid obstructions.
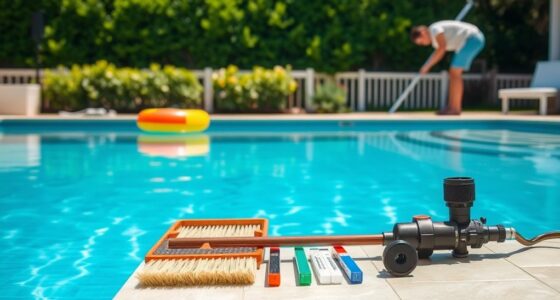
Gather Necessary Tools and Equipment
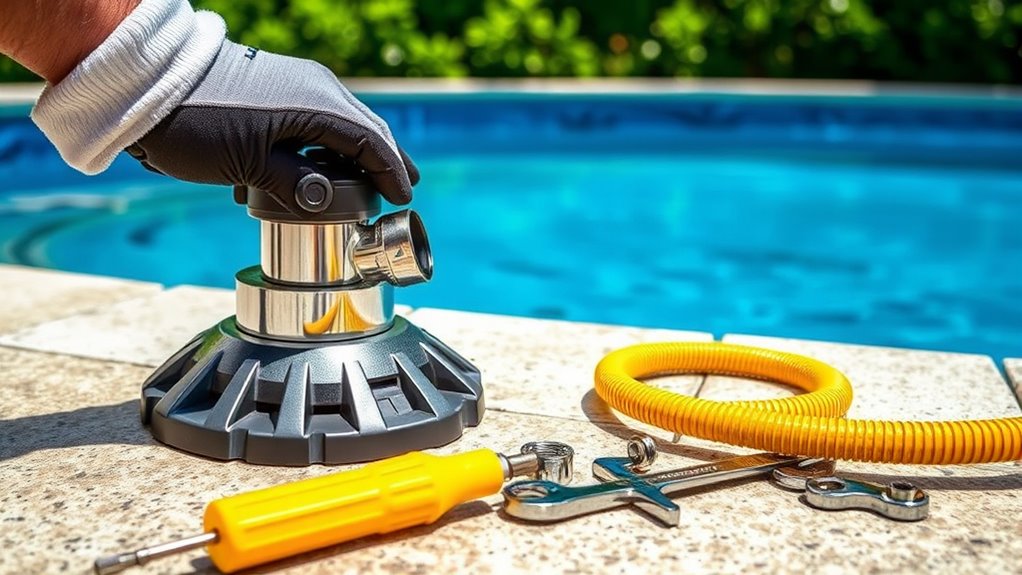
Before you begin installing your suction pool cleaner, it’s important to gather all the necessary tools and equipment. Proper preparation guarantees smooth pool maintenance and helps you avoid unnecessary delays. You’ll need basic tools like screwdrivers, pliers, and a hose if not included. Check that the cleaner’s parts—such as the hose, weight, and float assembly—are complete and in good condition. Safety precautions are essential: wear gloves and protective eyewear to prevent injury. Make sure the pool is clear of debris to avoid damage during installation. Having everything ready before starting minimizes the risk of mistakes and keeps the process efficient. A well-prepared setup makes pool maintenance easier, safer, and ensures your suction cleaner works effectively from the start. Additionally, reviewing AI-powered virtual reality in e-learning can provide insights into immersive training methods that could be useful for maintenance procedures. Ensuring that you understand the Glycolic Acid benefits can also help in maintaining your pool’s surface if used as part of your cleaning regimen. It’s also helpful to consult your product manual to verify specific assembly steps and recommendations for your particular model. Moreover, ensuring your tools are in good condition can prevent equipment failure during installation. Taking the time to organize your workspace can further streamline the process and reduce potential errors.
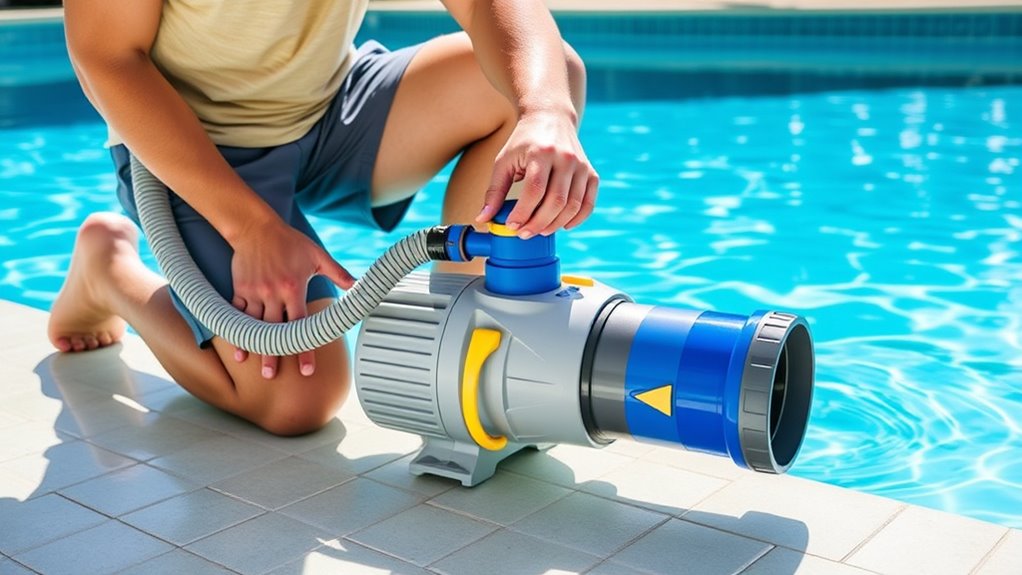
Connect the Hose to the Pool Skimmer or Dedicated Fitting

To connect the hose to your pool’s skimmer or dedicated fitting, start by choosing the appropriate connection point based on your cleaner’s instructions. Locate the skimmer fitting or dedicated port designed for hose connection; this guarantees maximum suction. Insert the hose connection securely into the skimmer fitting or the designated fitting, making sure it’s snug to prevent air leaks. Some pool models have a removable or adjustable fitting—use these features to create a tight seal. If your hose has a swivel or adjustable connector, use it to align the hose smoothly. Confirm that the hose connection is tight and secure, as this prevents loss of suction and ensures the cleaner operates efficiently throughout your pool cleaning session. Additionally, inspecting the proper installation of the connection helps maintain optimal water flow and cleaning performance, which is essential for effective pool maintenance. Proper sealing of the connection also minimizes the risk of air leaks, which can reduce suction efficiency and hinder cleaning. Regularly checking the connection for wear or damage can further improve the suction power of your pool cleaner.
Attach the Cleaner to the Hose and Prime It

Once you’ve secured the hose connection, it’s time to attach the cleaner itself. Make sure the cleaner’s inlet fits snugly onto the hose, then verify the hose length isn’t too long or too short—adjust as needed for ideal movement. To prime the cleaner, turn on the pool pump and slowly submerge the cleaner in the water, allowing air to escape. This process helps prevent airlocks that hinder suction. Regular filter maintenance is essential to keep the cleaner working efficiently, so check and clean the filter after each use. Proper backyard design can also support easier cleaning and maintenance. Understanding the causes and contributing factors of proper pool operation can help prevent issues that reduce cleaner effectiveness. Ensuring your pool’s filtration system is functioning correctly is vital for optimal cleaning performance. Use the table below to understand key points:
| Aspect | Importance |
|---|---|
| Hose Length | Ensures proper movement and effective cleaning |
| Filter Maintenance | Keeps suction strong and prevents clogs |
| Priming | Prevents airlocks, improves efficiency |
| Connection Fit | Prevents leaks and maintains suction |
Additionally, understanding the filter system of your pool can help maintain optimal filtration and cleaner performance. Incorporating efficient pool circulation can further enhance cleaning results and prolong equipment lifespan.
Position the Cleaner in the Pool and Start the Pump
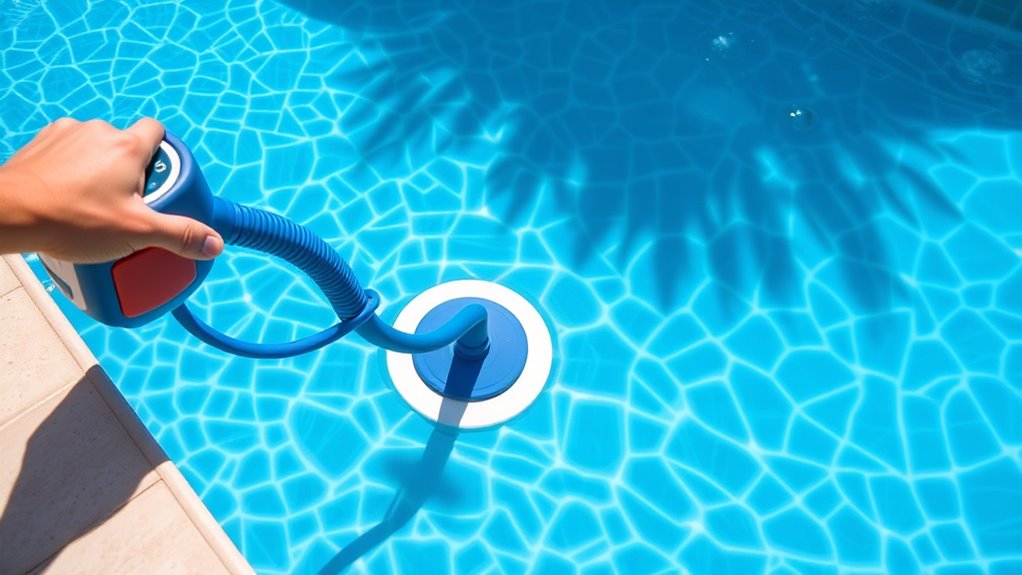
After securing the cleaner and ensuring the hose is properly primed, place the cleaner in the pool. You can manually position it in a convenient spot, such as near the main drain or skimmer, to optimize coverage. Many modern suction cleaners feature automatic navigation, allowing them to move efficiently across the pool floor without your intervention. Once in position, turn on the pump to activate the cleaner’s suction. Let it start its cleaning cycle, trusting the automatic navigation system to handle the movement. If needed, you can adjust the cleaner’s position slightly to improve coverage or avoid obstacles. Keep an eye on the cleaner’s initial movement to guarantee it’s functioning correctly before leaving it to clean the pool thoroughly.
Monitor the Cleaner’s Movement and Make Adjustments
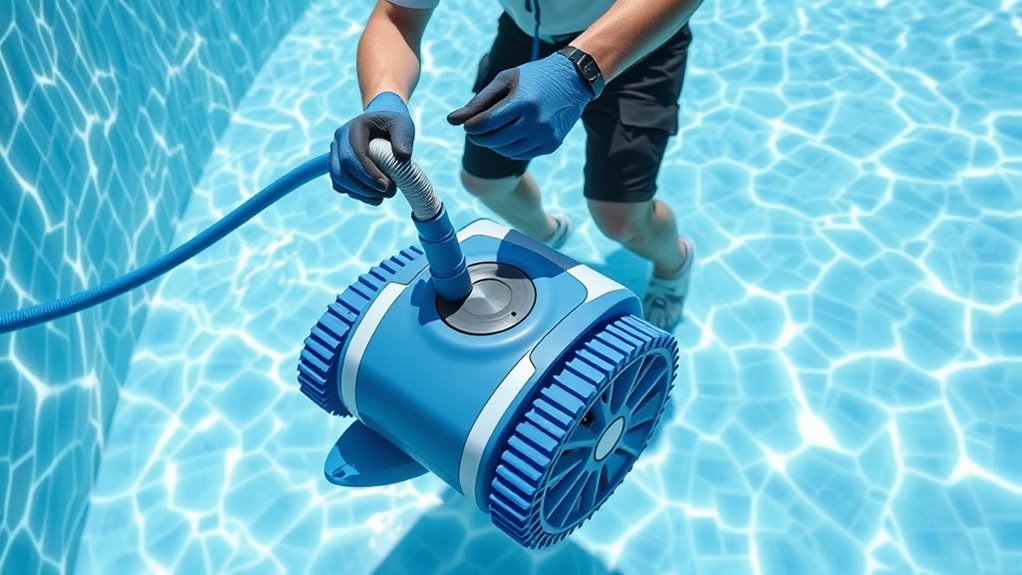
As the cleaner begins its cycle, keep a close eye on its movement to guarantee it’s covering the pool effectively. Watch its navigation patterns, ensuring it moves systematically and doesn’t miss any spots. Pay attention to how it avoids obstacles like ladders or pool toys; proper obstacle avoidance is essential for thorough cleaning. If you notice the cleaner getting stuck or following erratic paths, gently adjust its position or remove obstacles that may be blocking its route. Some models have built-in sensors that improve navigation, but manual intervention might still be necessary. Regularly monitor its progress during each cycle, and make adjustments as needed to optimize coverage and efficiency. Staying attentive ensures your pool cleaner performs well and keeps your pool pristine. Additionally, noise levels of modern heat pumps are designed to be minimal, so any noise from the cleaner won’t be overshadowed or amplified in your environment. Maintaining awareness of tuning options for your equipment can also help improve overall performance and longevity. Being familiar with proper maintenance practices can further extend the lifespan of your cleaning device and prevent common issues, especially in systems with advanced performance enhancements.
Frequently Asked Questions
Can I Use a Suction Pool Cleaner on All Pool Types?
You can generally use a suction pool cleaner on most pool surfaces, including plaster, vinyl, and concrete, but it’s crucial to check compatibility for your specific pool. These cleaners excel at debris removal from the pool floor and walls. However, some surfaces like delicate tiles or pebble finishes may require gentler options. Always verify the manufacturer’s recommendations to guarantee peak performance and prevent surface damage.
How Often Should I Clean or Replace the Cleaner’S Filter?
Your pool cleaner’s filter is the heartbeat of your cleaning system, so don’t ignore it! For ideal filter maintenance, check it weekly during heavy use, and clean it thoroughly. Replacement frequency depends on usage and debris, but generally, you should replace it every 1 to 2 seasons. Neglecting this can turn your spotless pool into a murky swamp faster than you can say “gross,” so stay vigilant!
Is It Necessary to Turn off the Pump During Installation?
You should turn off the pump during installation to guarantee pump safety and follow installation precautions. Keeping the pump off prevents accidental injury from moving parts and avoids water pressure issues. It’s a vital step, as it allows you to safely connect the cleaner without damaging the equipment. Always double-check that the pump is off before starting, so you can install your suction pool cleaner securely and safely.
What Should I Do if the Cleaner Gets Stuck?
If your suction pool cleaner gets stuck, you should first turn off the pump and perform a manual removal of the cleaner. Gently free it from the obstacle, ensuring no damage occurs. To prevent future issues, check for common obstacles and use obstacle avoidance features if available. Regularly inspect your cleaner and pool for debris or blockages that might cause it to get stuck, ensuring smooth operation.
Can I Leave the Cleaner in the Pool When Not in Use?
Imagine your pool cleaner as a vintage typewriter; it’s best to treat it with care. You shouldn’t leave it in the pool when not in use. Follow storage tips like rinsing it off and storing in a dry, cool place to prevent damage. Regular maintenance routines, such as checking hoses and brushes, ensure it works smoothly when you need it. Proper storage keeps your cleaner in top shape, ready for your next swim.
Conclusion
Once you’ve set up your suction pool cleaner, keep an eye on its movement, like a careful navigator charting a course. Regularly check that it’s operating smoothly and make minor adjustments as needed. With patience, your cleaner will glide through the water effortlessly, much like a leaf drifting on a gentle stream. Proper maintenance and attention will ensure your pool stays sparkling clean, letting you enjoy a revitalizing swim anytime you like.