
To master the final walkthrough and create an effective punch list, you should prepare with the right tools and checklists, focusing on key areas like surfaces, fixtures, and finishes. As you inspect, document deficiencies clearly and prioritize them based on urgency. Communicate these items efficiently with contractors and follow up promptly to ensure everything gets resolved. Keep in mind, fine-tuning your process can lead to smoother project completion—continue exploring to learn how pros perfect this essential step.
Key Takeaways
- Review project scope, previous punch lists, and prepare documentation before the walkthrough.
- Use specialized tools and checklists to identify issues across all key areas systematically.
- Prioritize safety concerns, communicate issues clearly with photos, and update the punch list regularly.
- Track progress with project management tools, verify repairs, and document resolutions to ensure quality.
- Conduct a thorough final review, focus on finishes and functionality, and confirm client satisfaction before approval.

General Tools MMD4E Digital Moisture Meter, Water Leak Detector, Moisture Tester, Pin Type, Backlit LCD Display With Audible and Visual High-Medium-Low Moisture Content Alerts, Grays
HUMIDITY SENSOR: Our handy meter tool can quickly determine what level of remediation is needed to keep your…
As an affiliate, we earn on qualifying purchases.
As an affiliate, we earn on qualifying purchases.
Preparing for the Final Walkthrough

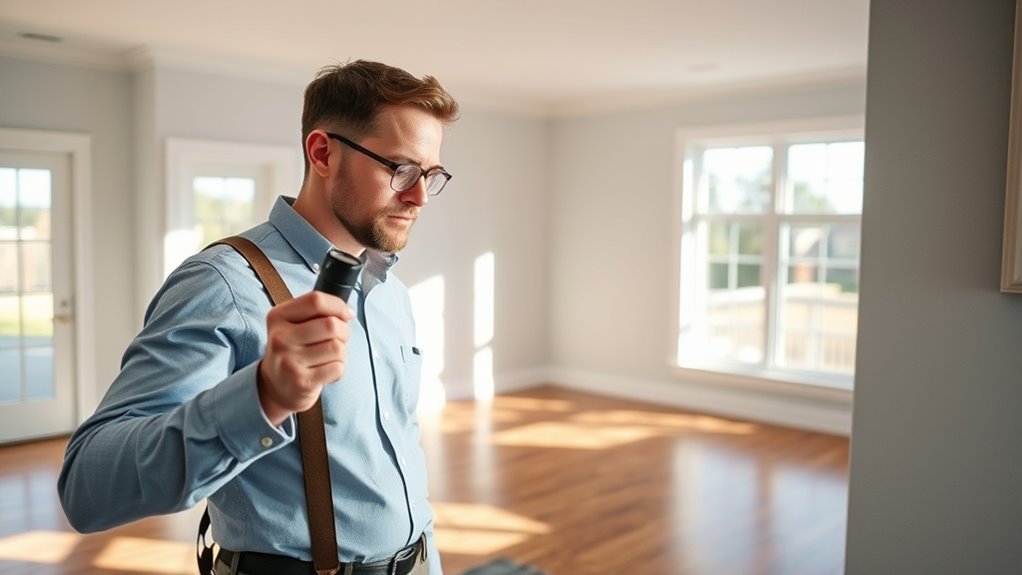
Before the final walkthrough begins, it’s essential to thoroughly prepare to guarantee everything is in order. Start by reviewing the project scope and any previous punch lists to identify potential issues. Walk through your property with a critical eye, noting areas that need attention or repairs. Clear your schedule to allow ample time for a detailed inspection. Gather necessary documents like warranties, manuals, and receipts to address any questions that might arise. Confirm that all contractors and vendors are available if needed. Clean the space so you can see every surface clearly. Making sure everything is accessible and well-lit helps you spot imperfections easily. Additionally, verifying that all fixtures and appliances are functioning correctly aligns with the total-cost clarity approach to project completion. Proper preparation minimizes surprises and ensures the walkthrough goes smoothly, giving you confidence in the final inspection.

Coast G20 Inspection Beam LED Penlight with Adjustable Pocket Clip and Consistent Edge-To-Edge Brightness, Black, 54 lumens,1 Pack
Inspection Beam: Clear And Consistent Edge-To-Edge Brightness Capable Of Illuminating A Defined Area Up To 9 Meters (30…
As an affiliate, we earn on qualifying purchases.
As an affiliate, we earn on qualifying purchases.
Essential Tools and Checklists for a Thorough Inspection

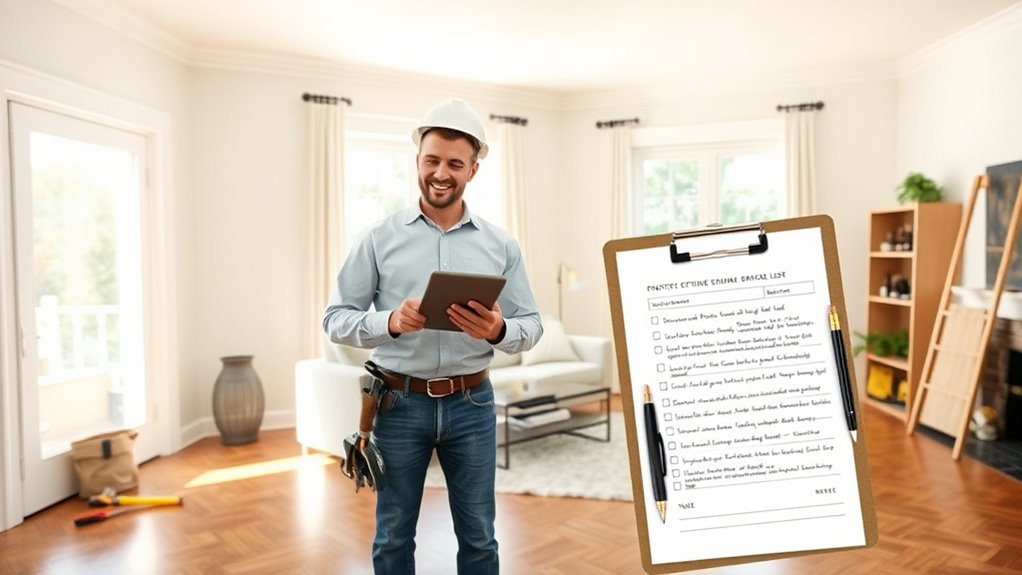
Having the right tools and checklists on hand is essential for conducting a thorough inspection during your final walkthrough. A reliable flashlight helps you spot issues in dim corners, while a mirror can reveal hard-to-see spots behind appliances or fixtures. A digital camera or smartphone allows you to document any concerns immediately. A clipboard with a detailed checklist keeps you organized, ensuring you don’t overlook key areas like plumbing, electrical, and finishes. A moisture meter can detect hidden leaks or water damage. Including a tape measure ensures everything fits properly. Use the checklist to systematically review each area, marking off completed tasks and noting issues. With these tools, you’ll conduct a comprehensive inspection that minimizes surprises before closing. Additionally, understanding tool maintenance can extend the lifespan of your equipment and ensure reliable performance during inspections.

Colarr 540 Sheets 8 1/2" x 11 3/4" Multi Point Vehicle Inspection Report Form 3 Part Carbonless Form Vehicle Checklist Inspection Snap-Out Repair Report Maintenance Log for Fleet Auto Truck Driver
Comprehensive Coverage: our package includes 540 sheets of multipoint vehicle inspection sheets across 6 pads, perfect for all…
As an affiliate, we earn on qualifying purchases.
As an affiliate, we earn on qualifying purchases.
Key Areas to Focus on During the Walkthrough

During your final walkthrough, focus on the key areas that guarantee everything meets the agreed-upon standards. Start with the structural elements—check walls, ceilings, floors, doors, and windows for damage, proper installation, and finishes. Inspect plumbing fixtures, electrical outlets, switches, and appliances to ensure they function correctly and are free of defects. Don’t forget to verify that built-in features, such as cabinets and countertops, are installed properly and free of damage. Examine the HVAC system, ventilation, and insulation to confirm they meet specifications. Also, review exterior elements like landscaping, driveways, and drainage to prevent future issues. Staying thorough in these critical areas helps you catch potential problems early, ensuring the property’s quality aligns with expectations before closing. Additionally, understanding the importance of pinball machine weight can be useful if you’re considering installing or moving arcade equipment or home entertainment setups.
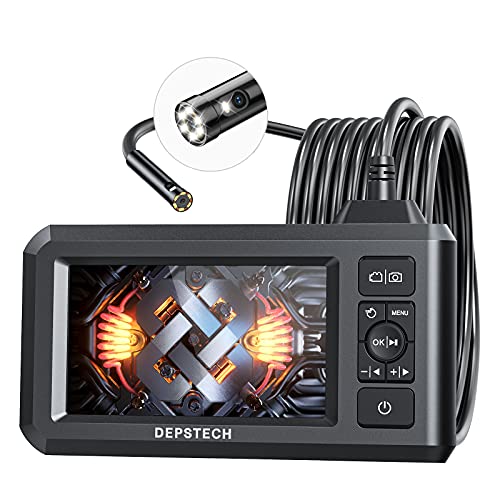
DEPSTECH Dual Lens Industrial Endoscope, 1080P Digital Borescope Inspection Camera, 7.9mm IP67 Waterproof Sewer Camera with 4.3" LCD Screen, 7 LED Lights, 16.5FT Semi-Rigid Cable, 32GB Card-Black
【See More with Dual Lens&Split Screen】: The DS300 inspection camera has dual-lens technology that allows you to switch…
As an affiliate, we earn on qualifying purchases.
As an affiliate, we earn on qualifying purchases.
Identifying and Documenting Deficiencies Effectively

To catch all deficiencies, use detailed inspection techniques that leave no area unchecked. Document every issue clearly with precise descriptions and photos to avoid confusion later. This approach guarantees your punch list is accurate, efficient, and easy to resolve. Incorporating organization strategies can further streamline the process and ensure nothing is overlooked.
Detailed Inspection Techniques
Effective detailed inspection techniques are essential for accurately identifying and documenting deficiencies on a punch list. You should systematically examine every area, paying close attention to details like finish quality, alignment, and functionality. Use a checklist to ensure consistency and thoroughness during your inspection. Take clear, high-quality photos of each issue, capturing the problem from multiple angles. Use a flashlight or mirror to inspect hard-to-see spots, ensuring nothing is overlooked. Measure gaps, levels, and clearances where applicable to verify compliance with specifications. Keep your observations organized, noting exact locations and descriptions of each deficiency. Avoid assumptions; be precise and objective. Incorporating inspection best practices can further enhance the accuracy and efficiency of your deficiency assessments. This meticulous approach ensures you don’t miss critical issues and provides clear documentation for effective resolution.
Clear Documentation Methods
Clear documentation is crucial for ensuring that all deficiencies are accurately recorded and easily understood by everyone involved. Use clear, detailed descriptions for each issue, avoiding vague language. Include photos or videos to support your notes, making issues undeniable. Organize your findings with a consistent format to simplify review. Consider this table for effective documentation:
| Deficiency Description | Location/Details |
|---|---|
| Cracked tile in foyer | Near front entrance, tile #5 |
| Missing switch cover | Kitchen, outlet on wall A |
| Uneven drywall joint | Living room, northwest corner |
| Leaking faucet | Master bathroom, sink area |
Adopting these methods ensures clarity, minimizes misunderstandings, and streamlines repairs. Additionally, maintaining a comprehensive record-keeping system can help prevent overlooked issues and facilitate smoother communication among all parties involved.
Prioritizing and Communicating Punch List Items

Prioritizing and communicating punch list items is essential for ensuring a smooth final walk-through. Start by categorizing issues based on urgency and impact—urgent safety concerns come first, followed by cosmetic fixes. Clearly communicate each item’s status, location, and required action to all involved parties. Use concise language and support your points with photos or documentation when possible. Make sure everyone understands which items need immediate attention and which can wait. This helps prevent confusion, delays, and missed deadlines. Keep the list organized, updating it regularly as work progresses. Effective communication ensures everyone is on the same page, streamlining the resolution process and reducing frustration. Prioritizing tasks and maintaining clear, consistent dialogue are key to a successful final walkthrough. Additionally, utilizing cookie consent management tools can help ensure all stakeholders are informed and aligned regarding any updates or changes to the punch list.
Strategies for Efficient Follow-Up and Resolution

Once punch list items are prioritized and communicated, the next step is to establish a system for follow-up that keeps the process moving smoothly. Use a clear tracking method, like a digital project management tool or spreadsheet, to monitor each item’s status. Assign responsible team members for resolution timelines and set regular check-ins to review progress. Keep communication open and transparent—promptly address any delays or obstacles. Document all updates and resolutions to ensure accountability. Encourage team members to report issues immediately and verify repairs before closing items. This proactive approach prevents bottlenecks and guarantees issues are resolved efficiently. Incorporate outdoor kitchen planning principles to visualize the space and identify potential issues early. Consistent follow-up not only improves workflow but also builds trust with clients, demonstrating your commitment to a thorough, professional finish.
Ensuring Client Satisfaction Through a Complete Finish
Achieving client satisfaction hinges on delivering a finish that exceeds expectations and leaves no detail overlooked. You need to walk through every aspect of the project, ensuring all punch list items are completed to the highest standards. Pay close attention to finishes, cleanliness, and functionality, as these are crucial to the client’s perception of quality. Communicate openly about any remaining issues and confirm that everything aligns with their expectations. Providing a thorough, polished final walk ensures clients feel confident and satisfied with your work. Remember, a complete finish isn’t just about aesthetics; it’s about delivering a seamless, professional result that leaves no doubt you care about quality. Incorporating quality control measures during your walkthrough can help identify any overlooked details and prevent future callbacks. This approach builds trust, encourages positive reviews, and sets the stage for future referrals.
Frequently Asked Questions
How Long Does a Typical Final Walkthrough Usually Take?
A typical final walkthrough takes about one to two hours, depending on the size and complexity of the home. You’ll inspect every detail to guarantee everything matches your expectations and the contract. Be prepared to note any issues or touch-ups needed. Staying organized and thorough helps speed up the process. Remember, this is your chance to confirm the home is ready for move-in, so take your time and ask questions.
Can Technology Improve Punch List Accuracy and Efficiency?
Ever wonder if technology can boost punch list accuracy and efficiency? It absolutely can. Digital tools like mobile apps and inspection software let you document issues instantly, share updates in real-time, and reduce errors. By using these tech solutions, you streamline the process, save time, and guarantee nothing gets overlooked. Isn’t it time you embraced technology to make your final walkthrough smoother and more precise?
What Are Common Mistakes to Avoid During the Walkthrough?
During the walkthrough, avoid rushing through inspections or overlooking details. Don’t ignore small issues, as they can become bigger problems later. Make sure you bring all necessary tools and checklists, and don’t assume everything is perfect without verifying. Stay focused and methodical, documenting each concern clearly. Remember, missing key items now can delay project completion and cause costly rework, so take your time and be thorough.
How Do Punch Lists Differ for Residential Versus Commercial Projects?
You’ll notice punch lists differ between residential and commercial projects because, in residential spaces, they focus on aesthetics and minor repairs, while commercial projects emphasize safety, compliance, and functionality. You need to check for code violations and operational issues more thoroughly in commercial settings. Meanwhile, residential punch lists often involve cosmetic touch-ups. Understanding these differences helps you prioritize tasks effectively, ensuring each project meets its specific standards without overlooking critical details.
What Legal Implications Exist if Deficiencies Are Overlooked?
If you overlook deficiencies, you risk legal trouble like breach of contract or future liability. Clients may claim damages or withhold payment, and you could face lawsuits if problems worsen. To avoid this, thoroughly document issues during the walkthrough, address them promptly, and make certain all deficiencies are resolved before project completion. Being diligent helps protect you from legal disputes and guarantees the work meets contractual obligations.
Conclusion
By mastering these punch list strategies, you guarantee a smooth final walk. Imagine spotting a minor chipped tile during your inspection, documenting it clearly, and coordinating promptly with the team to fix it. This proactive approach leads to satisfied clients and a flawless finish. When you stay organized and communicate effectively, you turn a potentially stressful process into a seamless, successful project conclusion everyone will appreciate.