
Transform your backyard with pallet swimming pool ideas. Get eight 48x40in pallets for the base, screws for stability, and a pool liner for waterproofing. Consider sunlight, ground stability, and proximity to electrical outlets when choosing the location. Assemble pallets with screws, add the liner, and fill the pool for a DIY oasis. Seal gaps with silicone-based sealants and regularly inspect for water damage to boost durability. Elevate pallets for a sturdy deck and add chairs for relaxation. Personalize with straw rolls, paint, and deck adjustments for a unique touch. Elevate your outdoor space with these creative pool ideas.
Key Takeaways
- Use pallets for pool base with screws and plates for stability.
- Waterproof with a pool liner and sealant for durability.
- Consider adding a staircase for access.
- Personalize with poolside chairs, deck space, and decor.
- Ensure pool location considers sunlight, stability, and privacy.

In The Swim Basic Swimming Pool Chemical Value Kit – for Above Ground and In-Ground Pools – Treats Up to 7.5K Gallons
- All-in-One Pool Chemical Kit: Complete set for pool maintenance
- Includes Essential Pool Chemicals: Stain Away, Clarifier, Multi-Shock, Algaecide, Oil Absorber, Test Strips
- Treats Up To 7,500 Gallons: Suitable for above ground and in-ground pools
As an affiliate, we earn on qualifying purchases.
As an affiliate, we earn on qualifying purchases.
Materials Needed
You'll require eight 48x40in pallets as the base material for constructing your pallet swimming pool. To secure the pallets together, use 6-inch screws diagonally and screw plates to guarantee stability.
Once the pallets are connected, it's important to waterproof the pool by using a pool liner. Staple the liner every 24 inches to prevent any leaks.
For easy access to your swimming pool, consider adding a staircase using three pallets, fiberboard, and lumber steps.
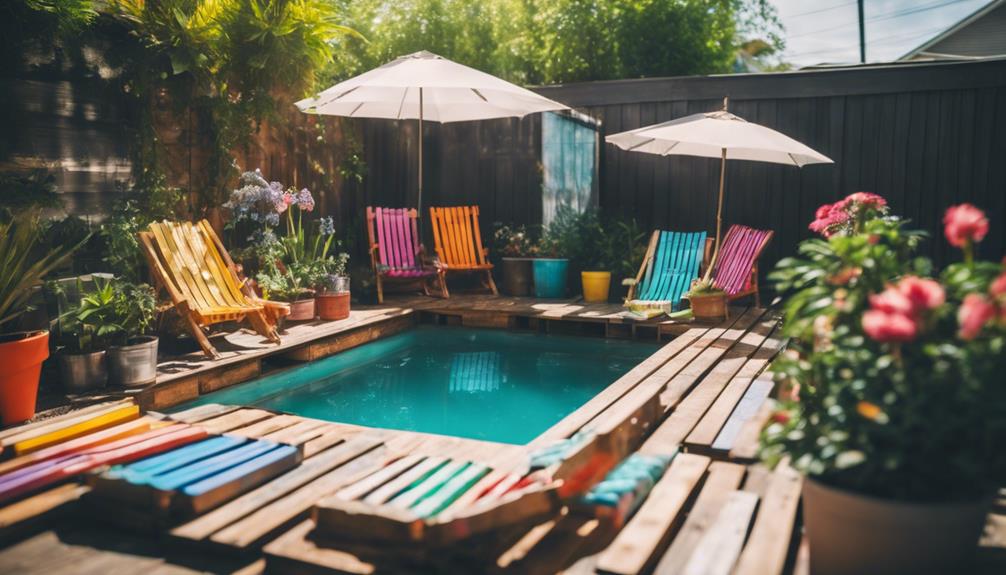
Personalizing your pool area can enhance the overall look and feel. You can create poolside chairs using pallets, add deck space for relaxation, and incorporate decorative elements like straw rolls and paint.
Making sure you have all the necessary materials ready will help you start building your pallet swimming pool efficiently and effectively.
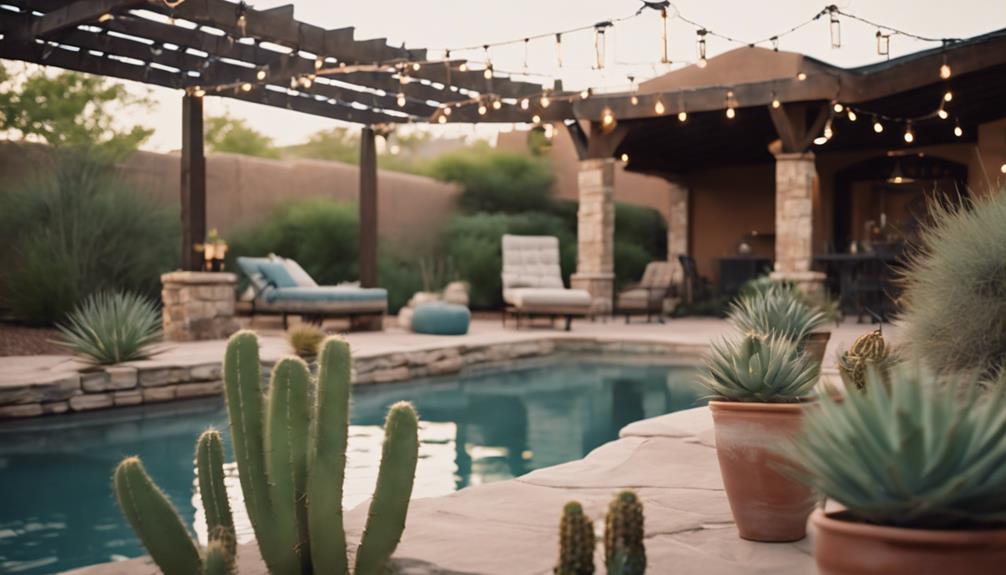
Choosing the Right Location

When selecting the ideal spot for your pallet swimming pool, consider factors such as sunlight exposure, ground stability, proximity to electrical outlets, debris sources, and privacy concerns.
Adequate sunlight is essential for an enjoyable pool experience, so choose a location that receives enough sun throughout the day. Confirm the ground is level and stable to prevent any issues with the pool's placement. Check for nearby electrical outlets to conveniently power pool pumps or lights.
Avoid placing the pool close to trees or bushes to minimize debris falling into the water, which can lead to maintenance challenges. Additionally, take into account privacy concerns when choosing the location of your pallet swimming pool to create a comfortable and secluded environment.
Building the Pool Base

To construct a sturdy foundation for your pallet swimming pool, assemble 8 pallets measuring 48×40 inches using 6-inch screws secured diagonally and reinforced with screw plates for added stability. This method ensures that the base is strong and durable, capable of supporting the weight of the water.
Once the pallets are securely fastened together, spread the pool liner evenly on top of the pallet base. Staple the liner every 24 inches to keep it in place and prevent shifting. This step is essential for creating a watertight seal and preventing leaks.
After securing the liner, you can begin filling the pool with water using a hose or buckets. Make sure that the liner remains properly positioned as the pool fills up. Additionally, consider adding a staircase to the pool for easy access. Use 3 pallets, fiberboard, and lumber steps to create a functional and safe entry point for swimmers.
Waterproofing and Sealing

Waterproofing and sealing your pallet swimming pool is essential to protect the wood from water damage and maintain its durability over time. This process involves applying a sealant or waterproof paint to create a protective barrier against water infiltration.
Silicone-based sealants are commonly used to seal any gaps or cracks in the pool structure, effectively preventing leaks. Regularly inspecting the pool for signs of water damage and reapplying sealant as needed can help uphold its waterproofing properties.
By properly sealing the pallet pool, you can extend its lifespan and prevent deterioration caused by prolonged exposure to water. Additionally, a waterproof coating not only enhances the overall appearance of the DIY project but also adds to its durability.
Ensuring that your pallet swimming pool is adequately sealed won't only protect the wood but also contribute to the longevity of your DIY creation.
Adding a Pool Liner

For a polished and protective finish, consider adding a pool liner to your pallet swimming pool.
To guarantee a smooth appearance, spread the pool liner evenly to avoid wrinkles or folds in the material.
Use a staple gun to secure the pool liner every 24 inches around the perimeter, preventing shifting.
Attach the pool liner tightly to the pallet base with staples for a secure fit.
For added decoration and to keep the pool liner edges in place, consider using a straw roll around the pool area.
The pool liner not only enhances the pallet swimming pool's appearance but also provides protection to the wood, extending the pool's lifespan.
Constructing Poolside Furniture

To create poolside furniture from pallets, start by cutting them to specific measurements for constructing lounge chairs.
Use additional pallets to craft elevated sides for added comfort and style.
Polish the chairs for a sleek finish and customize their size to fit your pool area perfectly.
Pallet Lounge Chairs
Consider incorporating pallet lounge chairs into your poolside setup to create a stylish and comfortable seating area. By repurposing pallets, you can craft unique lounge chairs that add a rustic charm to your outdoor space. Start by cutting two pallets for each chair, shaping one almost in half to form the base and backrest. Utilize two more pallets for the sides, ensuring the chair is elevated for a pleasant seating experience. Polish the chairs for a sleek finish, boosting their appearance and durability. Additionally, you can customize the size of the chairs by adjusting the pallet dimensions, allowing for flexibility in design and comfort. To complement the pallet lounge chairs, create a matching deck using two pallets and a 54×40-inch tabletop. This cohesive setup will enhance the overall aesthetic of your poolside area, providing a cozy spot to relax and unwind.
| Materials Needed | Instructions |
|---|---|
| 2 pallets per chair | Cut one pallet almost in half for the base and backrest. Use the other pallets for the sides. Elevate the chair for comfort. |
| Sandpaper, paint, varnish | Polish the chairs for a sleek finish. Enhance appearance and durability. |
| 2 pallets, 54x40in tabletop | Create a deck to match the chairs. Enhance the poolside area. |
| Saw, hammer, nails | Customize chair size by cutting pallets accordingly. Provide design and comfort flexibility. |
DIY Poolside Bar
Crafting a DIY poolside bar from pallets allows you to enhance your outdoor space with a functional and stylish furniture piece. To make poolside chairs, cut two pallets for each chair, with one pallet nearly halved to form the seat and back. Use two additional pallets for the chair sides to elevate it off the ground. Polish the chairs for a finished look and added comfort.
For the poolside bar, create a deck using two pallets and a 54x40in tabletop. Attach the sides to the pallets to lift the chairs off the ground and provide stability. This simple DIY project not only adds a charming touch to your pool area but also allows you to personalize your outdoor space according to your style preferences.
Pallet Sun Loungers
You can easily assemble pallet sun loungers for your poolside relaxation by cutting pallets to specific dimensions and utilizing additional pallets for support and elevation.
To create your own pallet sun loungers, follow these steps:
- Measure and Cut: Determine the desired dimensions for your sun lounger and carefully cut the pallets to size using a saw.
- Support and Elevate: Use extra pallets to elevate the loungers off the ground, ensuring stability and comfort.
- Polish and Finish: Sand down any rough edges, apply a coat of paint or varnish for a polished look, and add cushions for extra comfort.
- Customize and Coordinate: Adjust the cuts to customize the size and design of your sun loungers, and consider matching them with other pallet furniture like chairs and tables for a cohesive poolside set.
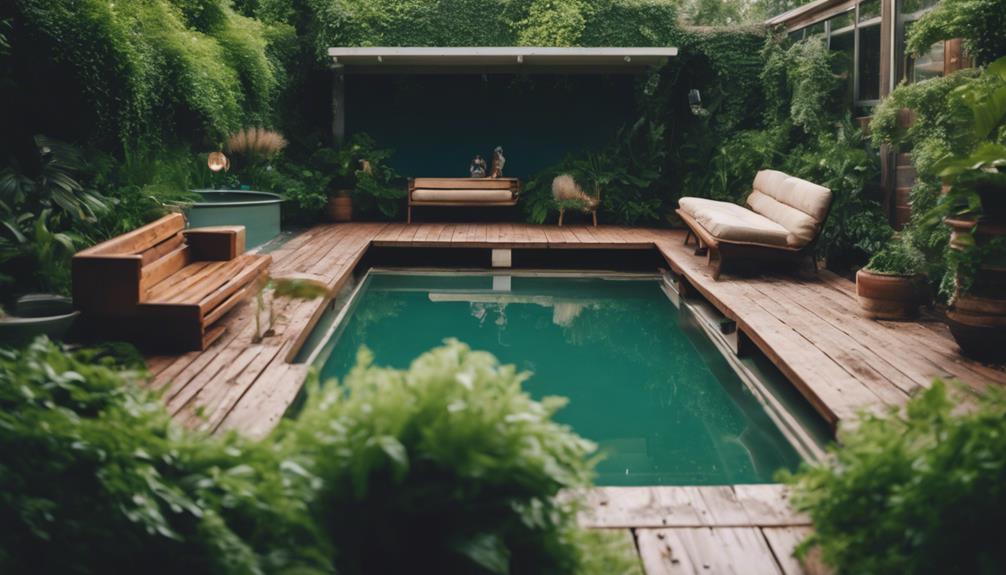
Creating a Deck Area

To create a deck area for your pallet swimming pool, consider using 2 pallets and a 54x40in tabletop. Securely attach the pallets to support the tabletop for a stable lounging space by the pool.
Customize the deck size by adjusting the pallets and tabletop dimensions to suit your needs.
Deck Design Tips
Consider using 2 pallets and a 54x40in tabletop to fashion a simple and budget-friendly deck for your pallet swimming pool. Here are some deck design tips to help you create a functional and stylish space for lounging by the pool:
- Cut and Secure:
Cut the pallets to size and securely attach them to form a sturdy deck area where you can relax and unwind.
- Elevate for Stability:
Elevate the deck slightly off the ground by attaching additional pallets as sides. This will guarantee stability and provide a comfortable area for poolside activities.
- Polish and Paint:
Polish the deck for a sleek finish. Consider adding a coat of spray paint in a color that complements your pool area for a touch of style.
- Utilize Space:
Make the most of your deck space by adding poolside chairs, tables, and decorations. This will enhance the overall look and feel of your DIY pallet swimming pool, creating a cozy and inviting atmosphere for you and your guests to enjoy.
Poolside Relaxation Area
Creating a cozy deck area next to your pallet swimming pool can enhance your outdoor relaxation space greatly. To achieve this, use 2 pallets and a 54x40in tabletop to construct a sturdy deck adjacent to your pool. Guarantee the pallets are securely attached and leveled for a stable surface. Consider staining or painting the pallets to match your pool area's aesthetic. For added comfort, place cozy chairs or loungers on the deck, providing a relaxing spot post-swim. Personalize the area with outdoor pillows, plants, or string lights to create a welcoming atmosphere. Below is a table summarizing key points for creating a poolside relaxation deck:
| Step | Details |
|---|---|
| Materials Needed | 2 pallets, 54x40in tabletop |
| Construction | Securely attach pallets, level for stability |
| Aesthetic Touches | Stain or paint pallets to match pool area aesthetic |
| Comfort Additions | Add comfortable chairs or loungers for relaxation |
| Personalization | Decorate with outdoor pillows, plants, string lights for a welcoming ambiance |
Personalizing With Decor

Enhancing your pallet swimming pool with personalized decor can elevate the overall aesthetic and create a unique outdoor oasis. To personalize your pallet pool, consider the following tips:
- Polished Look: Cover the pallet stringer spaces with 4-inch lumber pieces to give your pool a more refined appearance.
- Creative Touch: Add some flair with straw rolls as decorations. Securely staple them around the pool for a whimsical touch.
- Color Pop: Consider painting the pallets with spray paint in a color that matches your personal style. This can add vibrancy to the pool area.
- Organization is Key: Create a convenient towel and pool noodle holder using pallets. This will help keep essential items organized and easily accessible for a more enjoyable pool experience.
Frequently Asked Questions
Can You Build a Pool With Pallets?
Yes, you can build a pool with pallets. Secure 8 pallets for the base using screws and plates. Spread the liner evenly, staple every 24 inches to avoid leaks. Customize chairs and deck for a personal touch. Stay safe!
How Much Does It Cost to Build a Pallet Pool?
Imagine a world where you can create a unique outdoor oasis with a pallet pool. Costs range from $200 to $500, depending on materials. Opting for recycled pallets can greatly reduce expenses while offering a fun DIY project.
What Can You Make a Swimming Pool Out Of?
You can make a swimming pool out of various materials like concrete, fiberglass, or even pallets. Pallets can be a creative and cost-effective option for building a DIY pool, offering a unique touch to your backyard oasis.
How to Build a Pool on a Budget?
To build a pool on a budget, immerse into creativity! With pallets as your foundation, plunge into savings. Craft poolside charm with DIY chairs and straw accents. Customize your oasis inexpensively and make a big splash!
Can I Use Pallets to Create an Endless Fun Swimming Pool?
Yes, you can use pallets to create an endless fun swimming pool. By using creative swimming pool design ideas, you can repurpose pallets into the perfect DIY pool. It’s an affordable and customizable option for enjoying the summer months in your own backyard.
How Can I Incorporate Trendy Pool Tiles into My DIY Pallet Swimming Pool Project?
When considering a DIY pallet swimming pool project, incorporating the latest swimming pool tile trends can add a stylish touch. Opt for bold geometric patterns or vibrant mosaic designs to enhance the visual appeal of your pool. These trendy tiles will elevate the overall aesthetic of your DIY swimming pool.
Can I Use Pallets to Repurpose or Build a Unique Swimming Pool?
Yes, you can use pallets for repurposed swimming pool ideas. Pallets can be a cost-effective way to build a unique swimming pool while also repurposing materials. With a little creativity and DIY skills, you can transform pallets into a one-of-a-kind swimming pool for your backyard.
Conclusion
Plunge into the world of DIY pallet swimming pools and create your own oasis right in your backyard.
With a little creativity and some elbow grease, you can transform simple pallets into an invigorating retreat for the whole family to enjoy.
So grab your tools, roll up your sleeves, and get ready to make a splash with your very own pallet swimming pool.
The possibilities are endless, so let your imagination run wild!