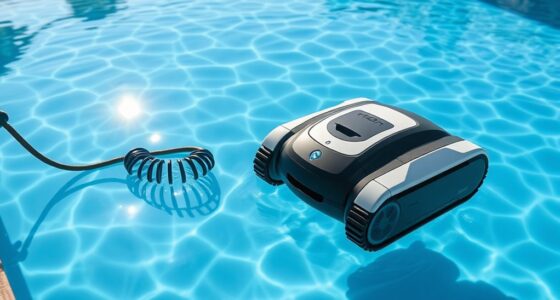
To install a pressure-side pool cleaner, gather your tools, turn off the pump, and remove the existing return jet fitting. Attach the cleaner to the return jet with the hose and adjust the diverter valve for proper water flow. Connect the hoses securely, measure and cut them to fit your pool, then fill the hoses with water to prevent air. Once set up and tested, you’ll guarantee efficient debris removal; continue to learn more about optimizing performance.
Key Takeaways
- Turn off the pool pump and remove return jet fittings before connecting the cleaner.
- Attach the hose connector securely to the return jet and adjust the diverter for optimal water flow.
- Connect the hose sections firmly, measuring and trimming to the appropriate length for your pool size.
- Fill hoses with water to remove air, then check all connections for leaks before starting the cleaner.
- Turn on the pump and observe the cleaner’s movement, adjusting hose length or diverter as needed for proper coverage.

MAKHOON Upgrade Pool Pressure Side Sweeper: Professional Solution for Cleaning Your Swimming Pool (Four Wheels are Better Than Three) Need 1.5" Female Thread Pool Booster Pump Inlet, 4 Bar Pressure
Upgrade & Improvement: The hose and machine components are crafted from high-quality plastics, rigorously refined and upgraded for…
As an affiliate, we earn on qualifying purchases.
As an affiliate, we earn on qualifying purchases.
Gather the Necessary Tools and Equipment
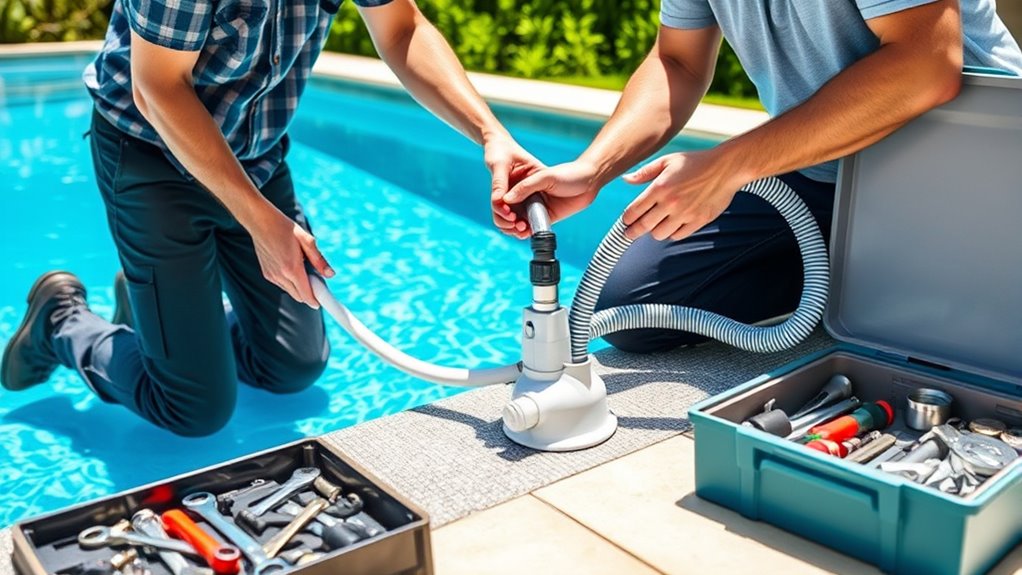
Before you begin installing your pressure-side pool cleaner, it’s important to gather all the necessary tools and equipment. Make sure you have the cleaner itself, along with hoses, a skimmer, and any adapters needed for your pool’s setup. Check your pool chemistry; ensure proper chemical balance to prevent corrosion or damage during installation. Safety precautions are essential—wear gloves and eye protection, and turn off the pool pump before starting. Keep a screwdriver, pliers, and a wrench nearby for assembly. Having clear instructions or a manual on hand helps streamline the process. Proper preparation not only makes installation easier but also protects your pool components and ensures safe, effective operation of your pressure-side cleaner. Additionally, considering energy-efficient appliances can help reduce ongoing operational costs and improve overall efficiency.

Poolvio Professional Swimming Pool Vacuum Cleaner Hose -1.5” 8 Piece Hoses for Pool Vacuum Extension/Replacement – Compatible with all Major Automatic Swimming Pool Cleaners
1-1/2" diameter connections are compatible with most automatic pool vacuum cleaners. Including but not limited to Kreepy Krauly,…
As an affiliate, we earn on qualifying purchases.
As an affiliate, we earn on qualifying purchases.
Prepare Your Pool for Installation
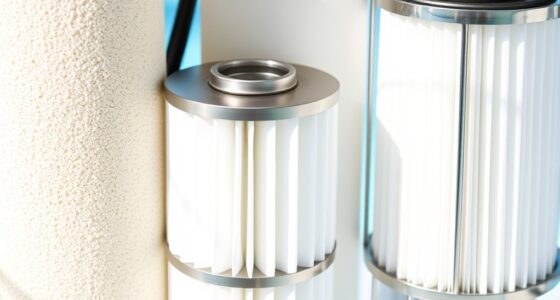
To guarantee a smooth installation, you need to prepare your pool properly. Start by checking your pool’s chemistry; balance the pH, alkalinity, and chlorine levels to prevent damage to the cleaner. Next, clean out debris, leaves, and dirt from the pool’s surface and bottom to ensure the cleaner works efficiently. Ensure all safety precautions are in place—turn off the pump and power supply before starting. Inspect the return jets and skimmers for blockages, and remove any obstructions that could interfere with installation. Finally, confirm that the water level is adequate—usually mid-skimmer or slightly higher—to support proper operation of the pressure-side cleaner. Proper preparation minimizes issues and helps your cleaner function at its best from the start. Additionally, verifying the pool’s water chemistry can prevent corrosion and enhance the performance of your pool equipment. Also, ensuring your pool’s filtration system is clean and functioning correctly can further improve the effectiveness of your pressure-side cleaner. Regular maintenance and proper setup are essential to maximize efficiency and prolong the lifespan of your cleaning system.

COONOOL W60050 Auomatic Pool Cleaner Flow Keeper Flowkeeper Regulator Valve W60050 Compatible with Zodiac Baracuda G3/G3 Pro/Ranger/Wahoo Automatic Inground Suction Side Swimming Pool Cleaner (W60050)
【PERFECT REPLACEMENT】This W60050 Automatic Pool Cleaner Flow Keeper retains the OEM Quality and can be a perfect replacement…
As an affiliate, we earn on qualifying purchases.
As an affiliate, we earn on qualifying purchases.
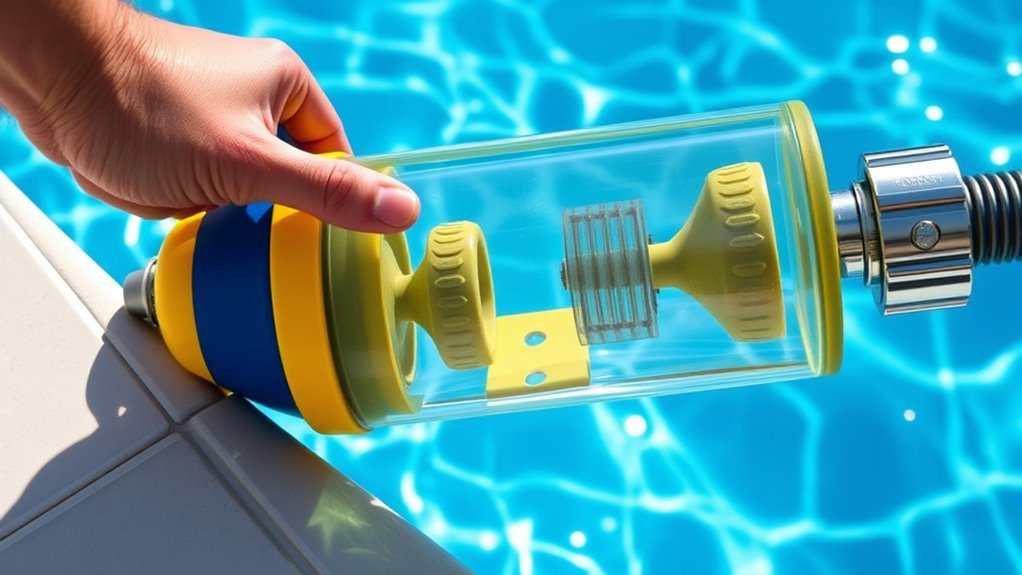
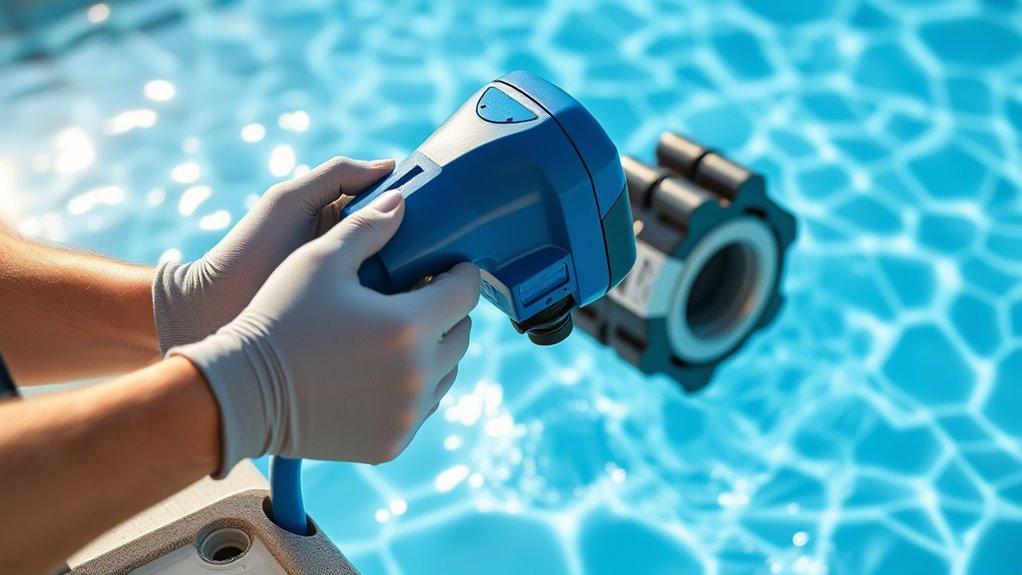
Connect the Cleaner to the Return Jet
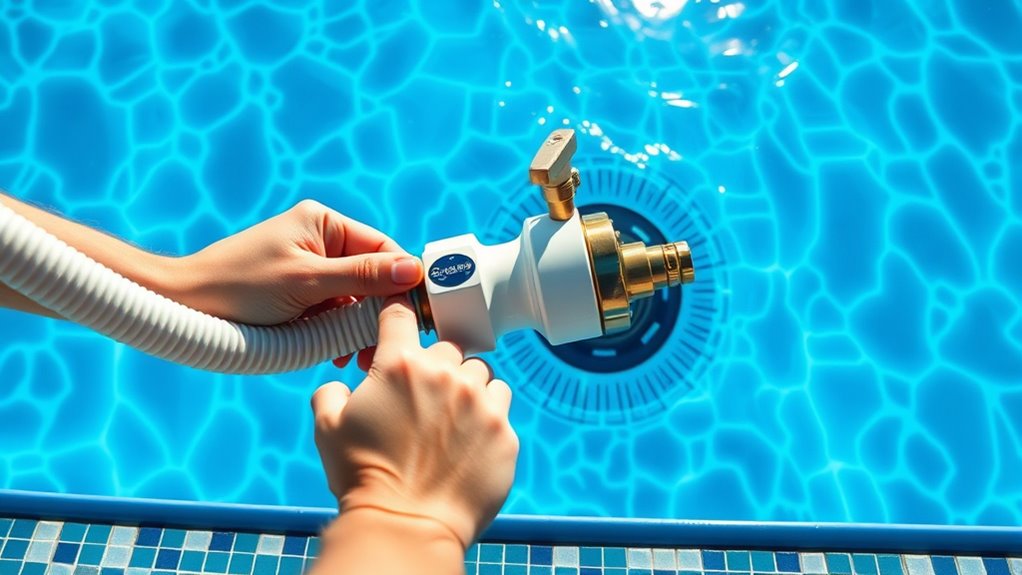
Connecting your pressure-side pool cleaner to the return jet is a straightforward process that guarantees the cleaner receives the flow needed to operate effectively. Start with the return jet setup by turning off your pump, then remove the existing eyeball fitting. Attach the cleaner’s hose connector directly to the return jet, ensuring it’s secure. To optimize water flow, adjust the diverter valve so that most of the water is directed to the cleaner. This adjustment helps maintain proper suction and cleaning performance. Make sure the diverter valve is set correctly—if too much water bypasses the cleaner, it won’t move effectively. Once connected and adjusted, turn your pump back on and observe the cleaner’s movement. Proper setup and diverter valve adjustment are key to efficient cleaning. Incorporating water flow management strategies can help you monitor and fine-tune your system for optimal results, and understanding how pressure dynamics affect flow can further enhance cleaning efficiency.

Poolvio 5-in-1 Pool Cleaning Kit – Includes Semi-Deep Skimmer Net, Aluminum Leaf Rake, 20' Pool Brush with 13ft Adjustable Pole
DELUXE POOL EQUIPMENT: Set includes 1 x 20" detachable pool brush head, 1 x semi-deep pool leaf net,…
As an affiliate, we earn on qualifying purchases.
As an affiliate, we earn on qualifying purchases.
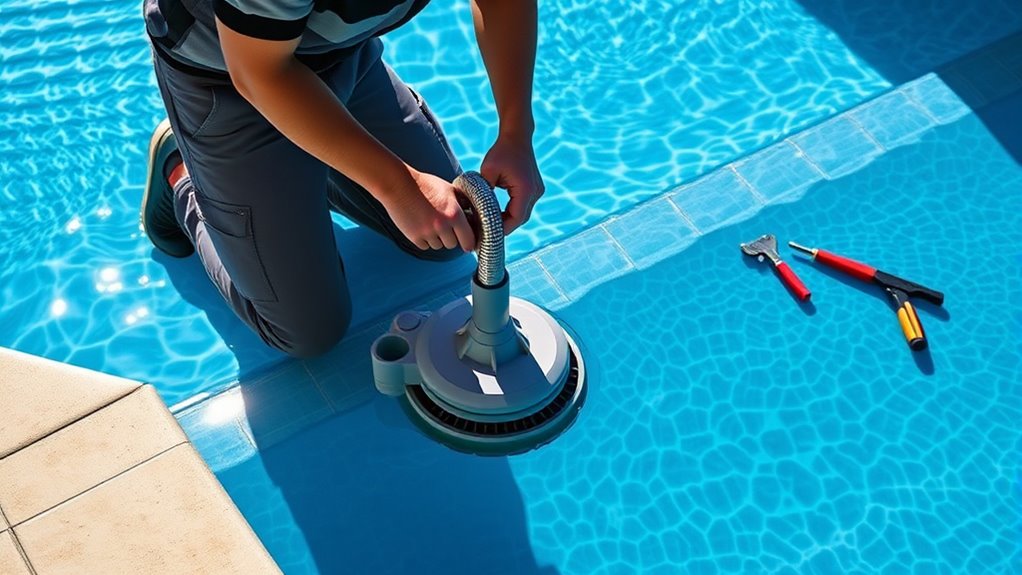
Attach the Hose and Configure Its Length
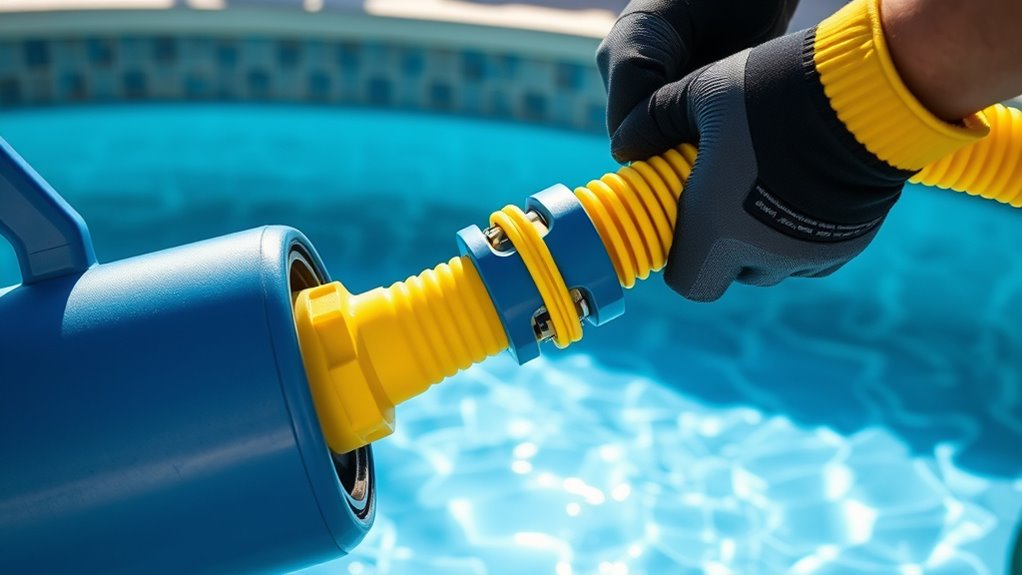
Attach the hose to the cleaner’s inlet fitting, ensuring it clicks into place securely. Properly securing connections prevents leaks and keeps the cleaner working efficiently. Next, adjust the hose length to match your pool size; a hose that’s too long or short can hinder performance. To ensure optimal operation, verify that the hose sections are compatible with your pool’s cleaning system for seamless operation. Here are some tips:
Secure the hose tightly to prevent leaks and ensure optimal pool cleaning.
- Measure your pool’s dimensions before cutting the hose.
- Make sure the hose is long enough to reach all pool areas.
- Connect sections firmly to avoid disconnections during cleaning.
- Test the hose’s length in the pool to verify full coverage. Additionally, proper hose length can improve the cleaner’s efficiency and reduce unnecessary strain on the system. Remember that selecting the right hose length can also contribute to system efficiency by minimizing frustration and ensuring a smooth cleaning process.
Prime the System and Check for Leaks
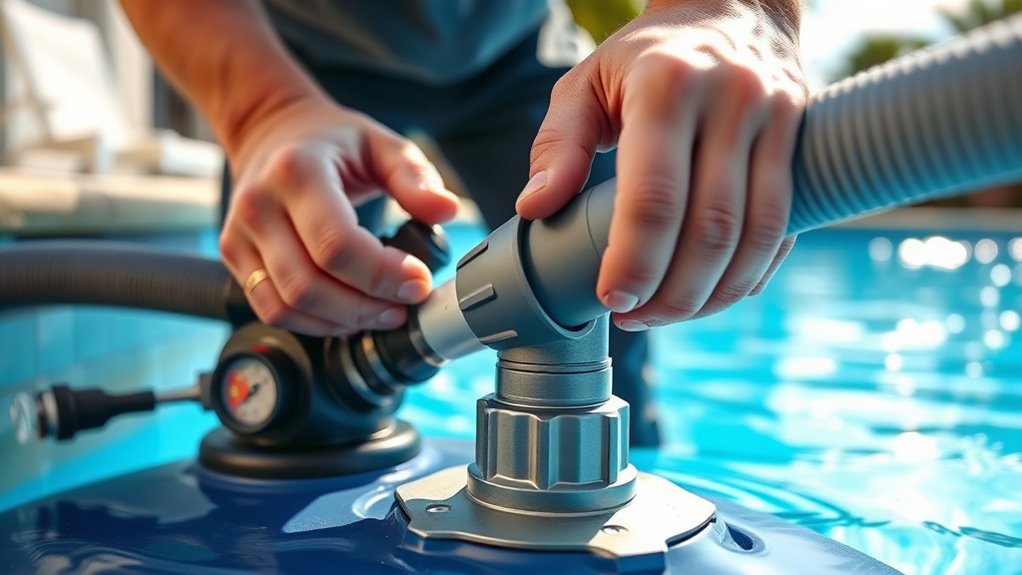
Before operating your pool cleaner, it’s crucial to prime the system to guarantee it runs smoothly. Proper priming ensures water flows correctly through the hoses and that the cleaner has the necessary pressure to function effectively. Start by turning on the pool pump and filling the hose with water to eliminate air pockets. As you do this, watch for any signs of leaks, especially around connections and fittings. Leak detection is essential because leaks can reduce pressure and impair cleaning performance. Once the system is fully primed, double-check all connections to confirm they’re tight and secure. Ensuring proper fitting connections can prevent common issues during operation. Correct priming and thorough leak detection ensure your pressure-side pool cleaner operates efficiently, saving you time and preventing potential damage. Monitoring for water flow issues can help identify hidden leaks or blockages early on, especially since inconsistent flow may indicate underlying pressure problems. Additionally, understanding the importance of pressure regulation can further optimize your cleaner’s functionality. Regularly inspecting the hoses for wear and ensuring the filter system is clean can also contribute to maintaining optimal system performance.
Test the Cleaner’s Operation and Make Adjustments
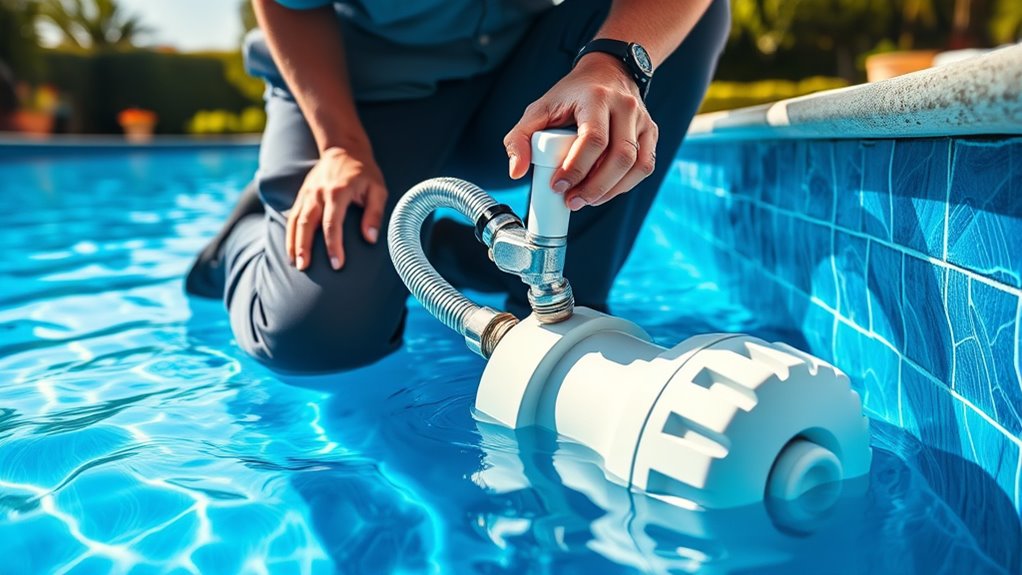
Once your system is primed and secure, turn on the pool pump and activate the cleaner to test its operation. Observe how it moves and cleans the pool surface. Check the flow rate to guarantee the cleaner is receiving enough water pressure—if it’s too weak, it may not clean effectively. Watch the cleaning pattern; it should cover the entire pool evenly without missing spots or sticking in one area. Adjust the cleaner’s hose length or position if needed to improve coverage. Make sure the cleaner doesn’t get caught on ladders or other obstructions. Confirm that the cleaner moves smoothly across the surface and maintains a consistent flow rate for ideal cleaning. Monitoring for signs of narcissistic manipulation during testing can help identify if the cleaner’s performance is being unduly influenced. Proper filter maintenance and inspecting for debris can enhance overall efficiency. Regularly checking for clogged filters helps prevent flow issues and maintains optimal cleaning performance. Additionally, ensuring the water pressure remains within the recommended range is vital for effective operation. Fine-tuning these elements helps guarantee your pool stays clean and well-maintained.
Regular Maintenance and Troubleshooting Tips
Regular maintenance keeps your pressure-side pool cleaner running smoothly, so make routine cleaning checks a habit. If you notice it’s not picking up debris effectively or moving inconsistently, you may have a common issue that needs fixing. Staying alert to these signs helps you troubleshoot quickly and keep your pool spotless.
Routine Cleaning Checks
To keep your pressure-side pool cleaner functioning efficiently, it’s vital to perform routine cleaning checks regularly. Start by inspecting the cleaner’s hose for debris or blockages that could hinder flow. Check the filter basket and skimmer for leaves or dirt, ensuring proper circulation. Test your pool’s chlorine levels and pH balance; imbalanced chemicals can affect cleaning performance and algae growth. Make sure the cleaner’s wheels and brushes move smoothly without obstructions. Also, verify that the pressure valve is working correctly to maintain ideal pressure. Regularly cleaning these components prevents buildup and guarantees your cleaner operates at peak efficiency. Staying proactive with these checks keeps your pool cleaner running smoothly, saving you time and effort in the long run.
Identifying Common Issues
Even with routine cleaning checks, your pressure-side pool cleaner can still encounter common issues that disrupt its performance. One frequent problem is pool debris clogging the intake or hoses, which can reduce suction power and prevent effective cleaning. Inspect the skimmer and inlet for blockages regularly and clear out any debris. Another issue is motor stalls, often caused by tangled hoses or insufficient water flow. If the motor stalls frequently, check the hose connections and ensure they aren’t kinked or clogged. Low water pressure can also hinder cleaning efficiency. address these issues promptly by cleaning debris buildup and maintaining proper water flow, keeping your pressure-side cleaner running smoothly and extending its lifespan.
Frequently Asked Questions
Can I Install a Pressure-Side Cleaner Myself Without Professional Help?
You can definitely try a DIY installation of a pressure-side pool cleaner, but it depends on your comfort level with pool equipment. Follow the manufacturer’s instructions carefully, and make certain you understand the connections and setup process. If you’re unsure or run into issues, seeking professional assistance is wise to avoid mistakes. Proper installation ensures your cleaner works efficiently and extends its lifespan, saving you time and potential costs later on.
What Is the Ideal Pressure Setting for Optimal Cleaning Performance?
You should aim for a pressure regulation setting of about 30-50 psi for ideal cleaning performance. Proper flow optimization ensures the cleaner moves effectively without causing damage or inefficiency. Adjust your pool’s return valve or pressure regulator to maintain consistent pressure. Regularly check and fine-tune these settings, especially after cleaning or maintenance, to keep your pressure-side pool cleaner working efficiently and thoroughly.
How Often Should I Replace the Cleaner’S Hose or Parts?
Think of your pool cleaner’s hose and parts as the veins and joints of a well-oiled machine. You should replace the hose every 1-2 years or when it shows signs of cracking or leaks. Regular hose replacement and parts maintenance keep your cleaner running smoothly, preventing breakdowns. Check for wear often, and don’t wait until a small tear turns into a major repair—stay ahead, and your pool stays pristine.
Will Using a Pressure-Side Cleaner Affect My Pool’S Water Chemistry?
Using a pressure-side pool cleaner generally won’t affect your water chemistry if you maintain proper water circulation and chemical balance. It helps keep debris out, reducing organic buildup that can disrupt chemistry. Just make certain your filtration system runs efficiently and test your water regularly. By doing so, you keep your pool’s water chemistry stable, preventing issues like algae growth or pH imbalance caused by debris or poor circulation.
Is It Necessary to Turn off the Pool Pump During Installation?
Think of your pool system as a delicate dance. To keep everyone safe and maintain harmony, you should turn off the pool pump during cleaner installation. This guarantees pool pump safety and prevents damage. Turning off the pump also makes cleaner maintenance easier, reducing the risk of accidents or debris getting caught. Always follow manufacturer instructions, and double-check that the pump is off before starting installation to protect your equipment.
Conclusion
With your pool sparkling and your cleaner running smoothly, you’ll enjoy both the serenity of a clear water surface and the satisfaction of mastering the installation. Just as a well-maintained garden blooms vibrantly, a properly installed cleaner keeps your pool pristine and inviting. Embrace the balance of effort and reward, knowing that each step, like tending to plants, leads to a invigorating oasis where relaxation and cleanliness flourish side by side.