
To replace parts on your suction pool cleaner, start by inspecting hoses, cables, and moving components for wear or damage, then swap out worn brushes, filters, or nozzles as needed. Check the impeller, pump parts, and drive belt for issues and replace them if they’re faulty. Don’t forget to maintain wheels, tracks, and water flow components for smooth operation. Following these steps helps keep your cleaner running efficiently—more tips are covered if you continue exploring.
Key Takeaways
- Regularly inspect hoses, cables, and moving parts for damage and replace them promptly to maintain optimal performance.
- Replace worn brushes, filters, nozzles, and skimmer components to ensure effective cleaning and water flow.
- Remove and install new impellers and pump parts when experiencing decreased suction or unusual noises.
- Check and adjust drive belts and wheels regularly for proper tension and smooth movement.
- Clean debris and verify water flow, adjusting skimmer positioning for efficient operation and longer cleaner lifespan.
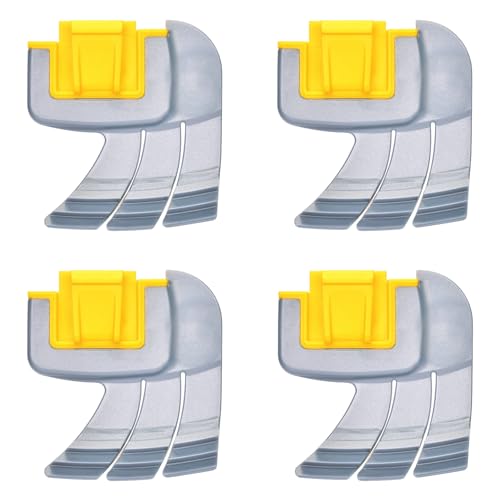
4-Pack Brushes Replacement for Zodiac MX6 MX8 Elite and Polaris MAXX Atlas XT Pool Cleaners, R0714400 Cyclonic Scrubbing Brush (4 Pack)
100% Brand New and High Quality: Made of premium plastic and rubber. Upgraded durable brushes for long life-span…
As an affiliate, we earn on qualifying purchases.
As an affiliate, we earn on qualifying purchases.
Identifying Worn or Damaged Hoses and Cables
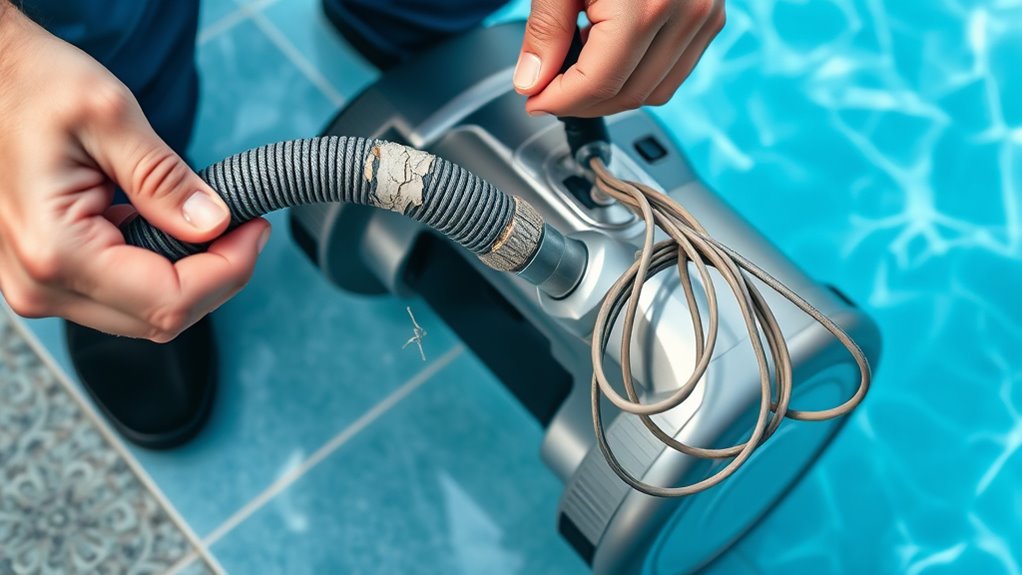
Before replacing parts on your suction pool cleaner, it’s essential to identify any worn or damaged hoses and cables. Start with a thorough hose inspection, checking for cracks, leaks, or stiffness that could hinder performance. Damaged hoses may cause suction loss or water leaks, so replace them promptly. When inspecting cables, look for fraying, cuts, or exposed wires. Damaged cables can lead to malfunction or electrical hazards. If you notice any signs of wear, prioritize cable replacement to ensure the cleaner functions properly and safely. Regularly inspecting hoses and cables helps prevent breakdowns and extends the life of your pool cleaner. Incorporating preventive maintenance techniques into your routine can further enhance your pool cleaner’s efficiency and longevity.

Ebrmeiwo PVXH038SA Pool Cleaner Vacuum Impeller Replacement Part, Vane Kits
[Package] Includes center roller*1 and blade*6, combined together as a complete impeller.
As an affiliate, we earn on qualifying purchases.
As an affiliate, we earn on qualifying purchases.
Replacing the Pool Cleaner Brushes
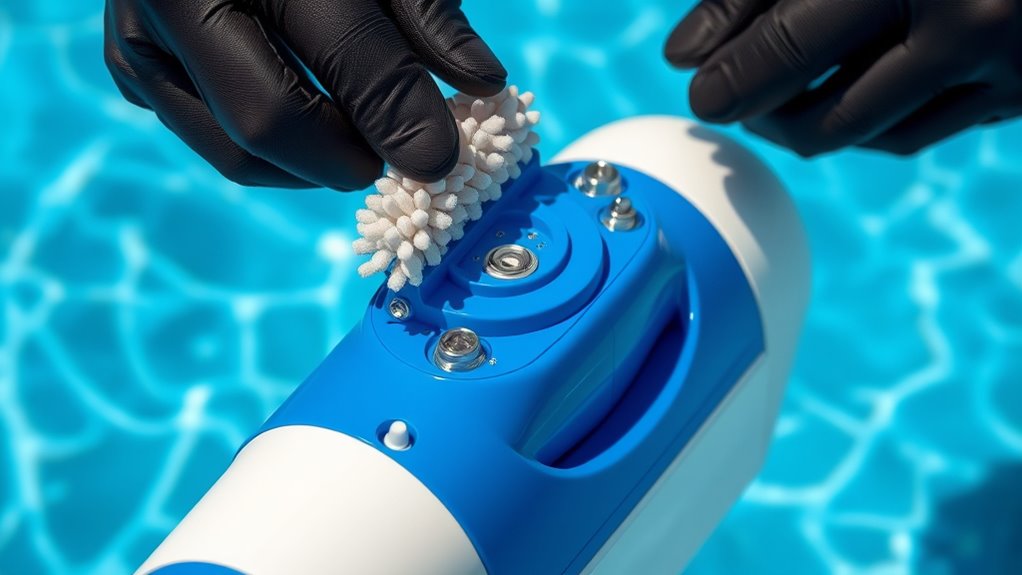
Replacing the pool cleaner brushes is a straightforward process that helps maintain ideal cleaning performance. Regular brush maintenance ensures your cleaner effectively scrubs the pool surface and prevents debris buildup. To replace the brushes, first turn off your cleaner and remove it from the pool. Most brushes are attached with clips or screws, so carefully detach the old brushes. Check for signs of wear, such as cracks or missing bristles, to determine if a replacement is necessary. When installing new brushes, make sure they fit snugly and are oriented correctly. Brush replacement is quick and simple, but it’s essential to perform regularly for maximum efficiency. Proper brush maintenance extends the lifespan of your cleaner and keeps your pool spotless. Additionally, selecting the right replacement parts can greatly influence the longevity and performance of your pool cleaner. Regularly inspecting and replacing worn brushes ensures your cleaner operates at peak efficiency, saving you time and effort during pool maintenance.
Maintaining proper equipment is also crucial for ensuring your pool cleaning system remains effective over time.

POOLWHALE Vacuum Hose/Replacement Pool Hose -1.5” 8 Hoses for Pool,Spa
Automatic cleaner hose with mould cuffs – Dia.1-1/2 X 1m
As an affiliate, we earn on qualifying purchases.
As an affiliate, we earn on qualifying purchases.
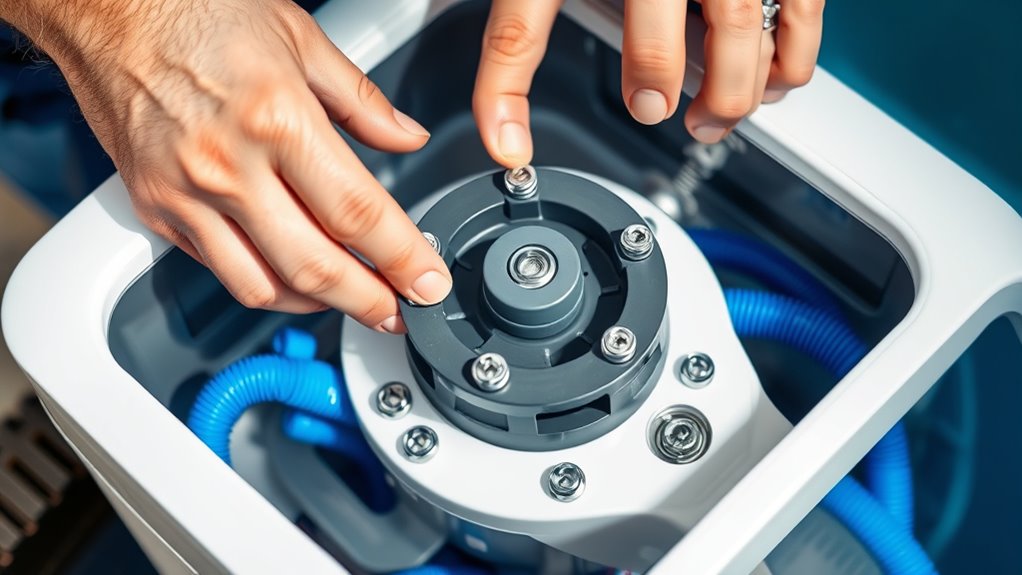
Swapping Out the Impeller or Pump Components
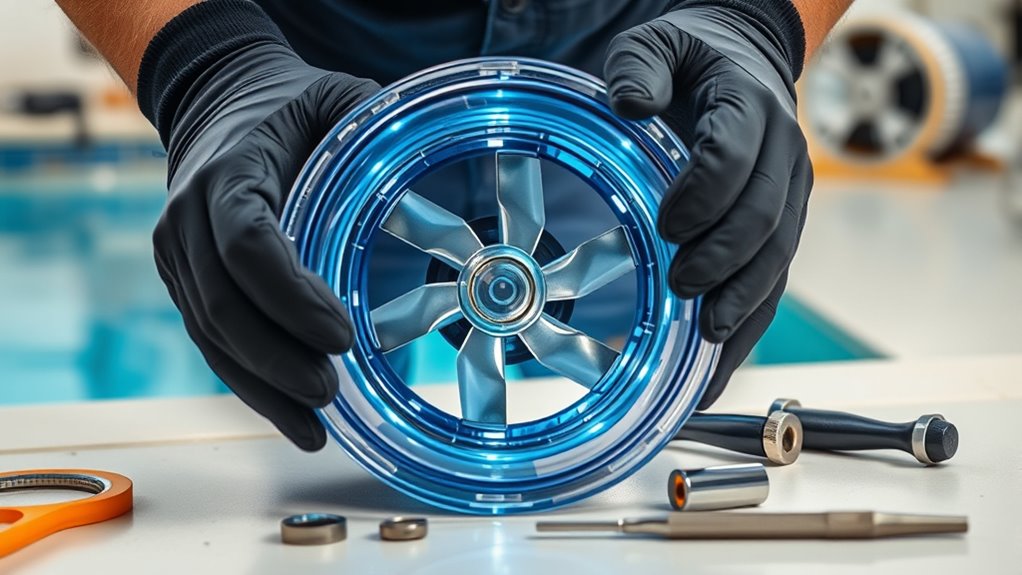
If your pool cleaner isn’t performing as well as it used to, it might be time to swap out the impeller or other pump components. Regular impeller maintenance can prevent clogs and guarantee your pump runs efficiently. When you notice decreased suction or strange noises, it’s a sign you may need to consider pump repair. To replace the impeller, disconnect the cleaner from power, remove the pump housing, and carefully extract the impeller. Inspect for damage or debris, then install the new one securely. Always check the pump’s seals and gaskets during this process. Properly swapping out the impeller or pump parts keeps your cleaner operating smoothly and prolongs its lifespan. Handling components gently to avoid damage and ensure ideal performance is essential. Utilizing industry trends can help you stay informed about the latest maintenance techniques and tools for your pool cleaner, including advancements in component durability. Staying updated on best practices ensures you can maintain your cleaner effectively over time. Additionally, understanding Honda Tuning concepts can inspire you to approach repairs with precision and efficiency. Moreover, paying attention to essential oils safety guidelines can help prevent damage to your equipment caused by improper handling or maintenance procedures.
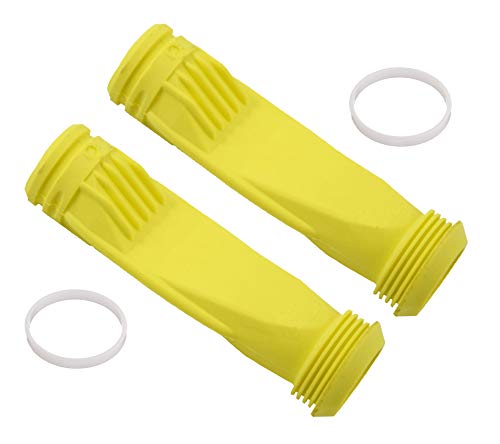
ATIE Pool Cleaner Long Life Diaphragm W69698 with Retaining Ring W81600 Replacement Compatible with Zodiac G3, G3 PRO, G4 Pool Cleaner Diaphragm W69698 (2 Pack)
Compatible with Zodiac G3, G3 PRO, G4 pool cleaners
As an affiliate, we earn on qualifying purchases.
As an affiliate, we earn on qualifying purchases.
Installing a New Filter Bag or Basket
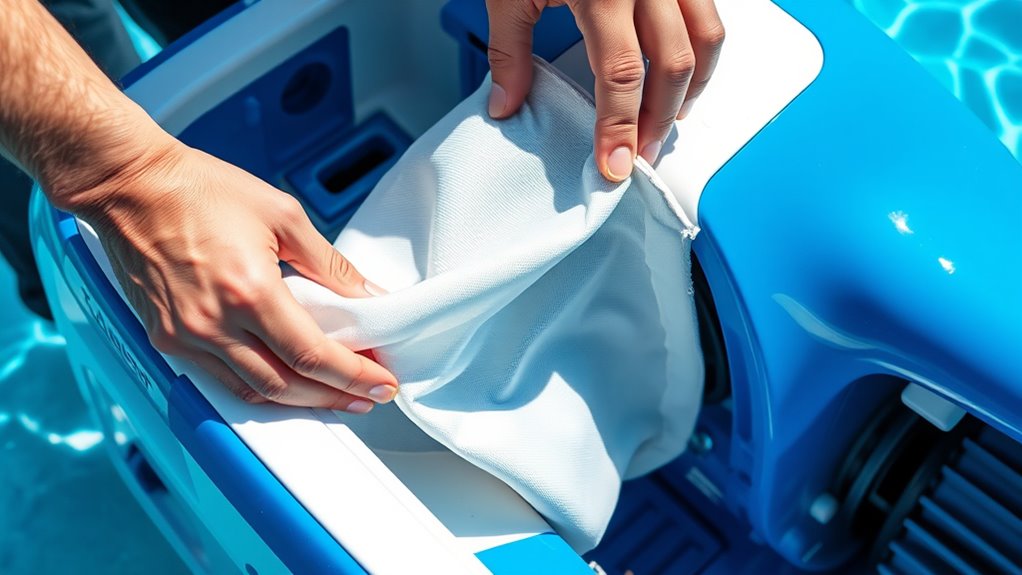
Installing a new filter bag or basket is a straightforward step to maintain your suction pool cleaner’s efficiency. Regular filter maintenance ensures peak performance and prolongs the life of your cleaner. Start by turning off the pump and removing the cleaner from the pool. Carefully detach the old filter bag or basket, then dispose of it properly. Insert the new filter bag or basket, making sure it fits snugly. Check for any tears or damage to prevent leaks. Proper bag replacement helps keep debris out of the pump and improves suction power. Ensuring your filter has the appropriate filtration system enhances overall cleaning performance. Regular inspection of the filter components can help identify wear before issues arise. Additionally, consulting the manufacturer’s maintenance guidelines can provide specific instructions for your model. Remember that keeping the filter system clean is essential for optimal operation. Here’s a quick overview:
| Step | Action |
|---|---|
| Remove old filter | Detach and dispose of it |
| Insert new filter | Ensure a snug fit |
| Final check | Confirm secure placement |
Regular bag replacement simplifies filter maintenance and keeps your cleaner working efficiently.
Repairing or Replacing the Drive Belt
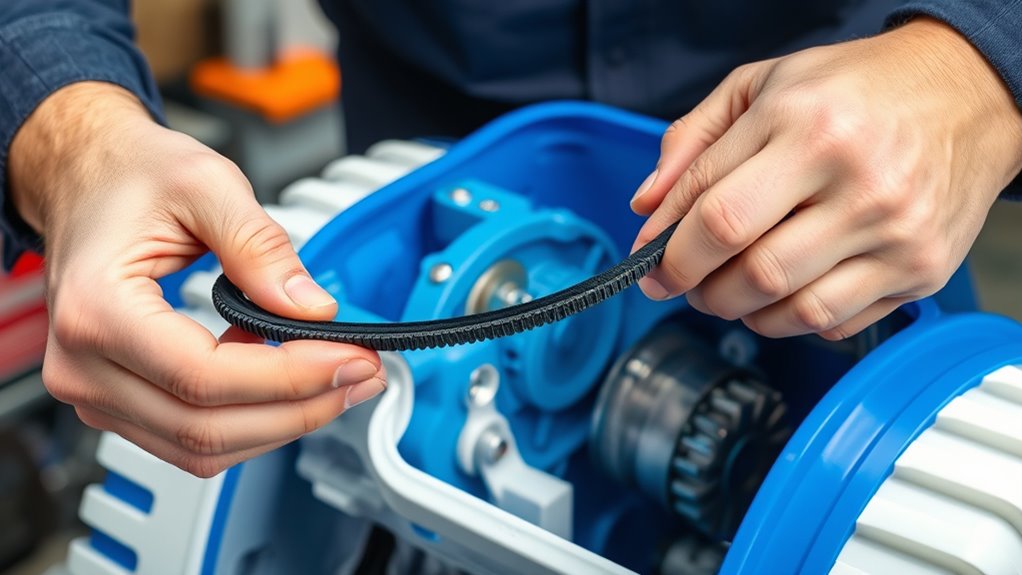
If your pool cleaner isn’t moving properly, the drive belt might be damaged. You’ll need to inspect it carefully for cracks, tears, or missing sections. Replacing the belt promptly can get your cleaner back to working efficiently.
Identifying Belt Damage
Belt damage is often the first sign that your suction pool cleaner needs attention. If you notice poor cleaning performance, inspect the belt for signs of wear or damage. Look for cracks, fraying, or missing chunks. Check belt tension; a loose belt slips and hampers movement, while an overly tight one causes stress. Proper belt alignment is vital—misalignment can cause uneven wear and early failure. Use the table below to identify common belt issues:
| Issue | Symptom | Solution |
|---|---|---|
| Belt cracks | Reduced cleaning efficiency | Replace or repair the belt |
| Loose belt | Slipping or lack of movement | Adjust tension or replace belt |
| Misaligned belt | Uneven wear or skipping | Realign belt properly |
Regularly inspecting these signs ensures your cleaner stays in top shape. Additionally, consulting manufacturer guidelines can help prevent premature belt failure and prolong the lifespan of your pool cleaner. Proper maintenance can also involve checking for Glycolic Acid benefits, which promote healthier, more resilient skin if you’re maintaining your skin routine alongside pool care. Incorporating asset division strategies, such as documentation and legal advice, can also be beneficial if your pool equipment is part of a larger property division.
Replacing the Drive Belt
Replacing the drive belt is a straightforward process that restores your suction pool cleaner’s performance. Begin with a drive belt inspection to confirm it’s worn, cracked, or broken. To replace it, remove the cover and carefully take out the old belt. Make sure to check the belt tension—if it’s too loose, adjust the tension to ensure proper operation. When installing the new belt, ensure it’s seated correctly on all pulleys. Afterward, perform a belt tension adjustment if necessary, tightening it just enough to prevent slipping but not so tight that it strains the motor. Once everything is in place, run your cleaner briefly to verify smooth operation. Regular inspection and tension adjustment keep the drive belt functioning efficiently, extending its lifespan.
Troubleshooting and Replacing the Skimmer and Nozzles
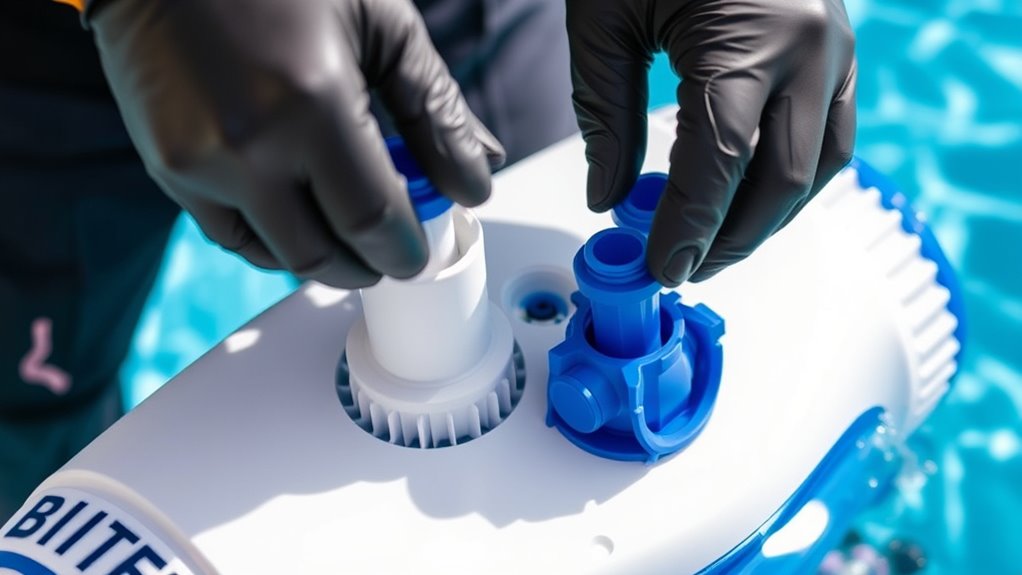
When your suction pool cleaner isn’t performing properly, inspecting the skimmer and nozzles is an essential first step. Dirty or clogged nozzles can reduce suction power, while a misaligned skimmer affects water flow. Before replacing parts, verify your pool’s chemical balance is correct by testing the water; imbalanced chemicals can cause debris buildup. Here are steps to troubleshoot and replace:
- Check for debris or blockages in the nozzles and skimmer opening.
- Clean or replace nozzles if they’re cracked or clogged.
- Adjust or secure the skimmer to ensure proper water flow.
Regular pool water testing helps maintain ideal conditions, preventing nozzle and skimmer issues. Proper maintenance ensures your cleaner works efficiently and extends its lifespan.
Maintaining and Replacing the Cleaner’s Wheels and Tracks

To keep your suction pool cleaner functioning smoothly, regular maintenance of its wheels and tracks is essential. Wheel maintenance involves checking for wear and tear, cleaning debris, and ensuring they spin freely. If wheels become cracked or worn down, it’s time for replacement to maintain ideal movement and cleaning efficiency. Tracks also require periodic inspection for damage or looseness. When tracks slip or don’t grip well, track replacement is necessary to restore proper traction. Keep the wheels and tracks clean and free of obstructions to prevent unnecessary strain on the motor. Regularly inspecting and replacing worn wheels and tracks extends your cleaner’s lifespan, ensures efficient operation, and keeps your pool pristine with minimal effort.
Frequently Asked Questions
How Often Should I Replace Parts on My Suction Pool Cleaner?
You should follow a regular maintenance schedule to keep your suction pool cleaner working efficiently. Replacement frequency varies depending on usage and water conditions, but typically, you’ll want to examine parts like brushes and hoses monthly. Replace worn or damaged parts promptly to prevent further issues. Staying on top of maintenance ensures your cleaner functions properly and lasts longer, saving you time and money in the long run.
Can I Repair Parts Myself or Should I Hire a Professional?
Deciding whether to tackle DIY repairs or call in professional servicing is like choosing between a paint-by-numbers kit and a masterpiece. You can often handle minor fixes yourself if you’re comfortable, saving time and money. However, for complex issues or if you’re unsure, it’s best to rely on a professional. They have the skills and tools to ensure your suction pool cleaner works flawlessly, preventing further damage and keeping your pool sparkling.
What Tools Are Necessary for Replacing Pool Cleaner Parts?
When replacing parts on your pool cleaner, you’ll need a basic tool kit with screwdrivers, pliers, and possibly a wrench. These tools help you remove and install replacement parts effectively. Make sure you have the correct replacement parts for your specific model. Using the right tools ensures a smooth repair process and helps prevent damage. With this setup, you can confidently replace parts yourself or decide if professional help is needed.
Are There Compatible Parts for Different Brands of Pool Cleaners?
You might worry about finding compatible parts for your pool cleaner, but brand compatibility and part interchangeability often make it easier. Many parts are designed to fit multiple brands, saving you money and effort. Always check the specific model and manufacturer guidelines, but rest assured, in many cases, you can use compatible parts across different brands, simplifying repairs and maintenance without sacrificing quality or performance.
How Do I Prevent Future Damage to Replacement Parts?
To prevent future damage to replacement parts, focus on proper part maintenance and regular inspections. Keep parts clean and free of debris, and avoid using harsh chemicals that can cause deterioration. Make sure all components are fitted correctly and handle them gently during installation. By maintaining your pool cleaner’s parts properly, you’ll reduce the risk of damage and prolong their lifespan, ensuring your cleaner works efficiently for longer periods.
Conclusion
Now that you know how to replace and repair your suction pool cleaner parts, imagine the sparkling pool waiting just for you. With each component restored, it’s almost like giving your pool a fresh start. But what if there’s still an underlying issue lurking beneath? Stay vigilant—your next discovery could be the key to keeping your pool crystal clear all season long. Plunge in, and keep your cleaner running smoothly!