To set up and program your new robotic pool cleaner, start by carefully unboxing and inspecting all parts for damage or missing pieces. Assemble components securely, then fully charge the device before use. Connect it to the mobile app or remote for control, and customize your cleaning schedule and modes to suit your needs. Calibrate the navigation system and run a test in your pool. Keep following these steps for smooth operation and ideal results.
Key Takeaways
- Unbox the device carefully, inspect for damage, and assemble components securely, including brushes, cables, and filters.
- Charge the battery fully and connect the robot to Wi-Fi via the app or remote for control setup.
- Program cleaning schedules and modes through the app, customizing times and cleaning intensity as needed.
- Calibrate the navigation system and test the robot in the pool, ensuring obstacle clearance and full surface coverage.
- Perform routine maintenance like filter cleaning and storage in a dry place to ensure optimal performance.

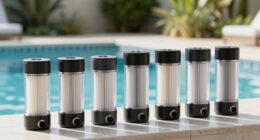
Replacement Robotic Pool Cleaner Filter Cartridges,Ultra Fine Cartridge Filter Panels, for Hayward Robotic AquaVac, TigerShark and SharkVac Pool Cleaners Maytronics Part Number: RCX70101(4 Pack).
Our pool filters are compatible with the following hayward robotic pool cleaners: TigerShark, Tiger Shark QC, TigerShark Plus,…
As an affiliate, we earn on qualifying purchases.
As an affiliate, we earn on qualifying purchases.
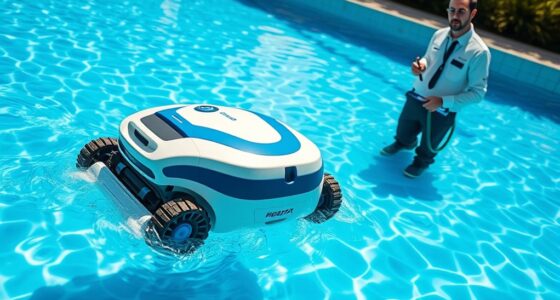
Unboxing and Inspecting Your Robotic Pool Cleaner

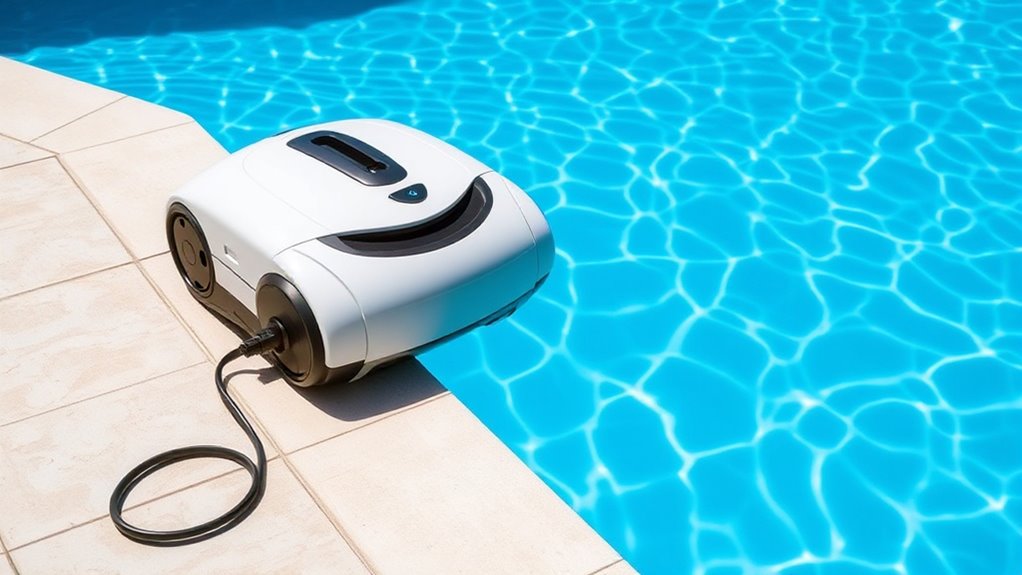
When you open the box containing your robotic pool cleaner, carefully remove all packaging materials and accessories. Take a moment to inspect the device for any visible damage or missing parts. Check the battery compartment to ensure it’s properly sealed; a good waterproof design is essential for avoiding water damage. Confirm the battery is charged or assess whether it needs charging before use, as battery life varies between models. Make sure the power cords, brushes, and filters are included and in good condition. A waterproof design guarantees your cleaner can operate submerged without issues. Handling these initial inspections helps prevent problems during operation and ensures your robotic cleaner functions smoothly, providing efficient and trouble-free pool cleaning. Additionally, understanding the automation technology integrated into your device can help you better troubleshoot and optimize its performance. Being familiar with waterproofing standards can further extend the lifespan of your robotic cleaner, ensuring it remains reliable over time. Furthermore, reviewing the maintenance requirements can help keep your device in optimal working condition. Regularly cleaning and replacing filters can improve cleaning efficiency and prolong the lifespan of your robotic cleaner. Knowing about environmental considerations, such as avoiding harsh chemicals or debris that could damage the device, can also prolong its effective use.

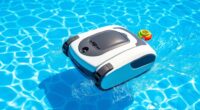
WYBOT F1 Pool Skimmer Robot Cleaner, App Remote Control, Automatic Solar Pool Cleaner, Water Clarification, Obstacle Avoidance, Anti-Stranding, Ideal for All Swimming Pool Types
WYBOT 2025 Series – The 2025 all-new WYBOT F1 employs cutting-edge smart technology to efficiently remove debris from…
As an affiliate, we earn on qualifying purchases.
As an affiliate, we earn on qualifying purchases.
Assembling the Components
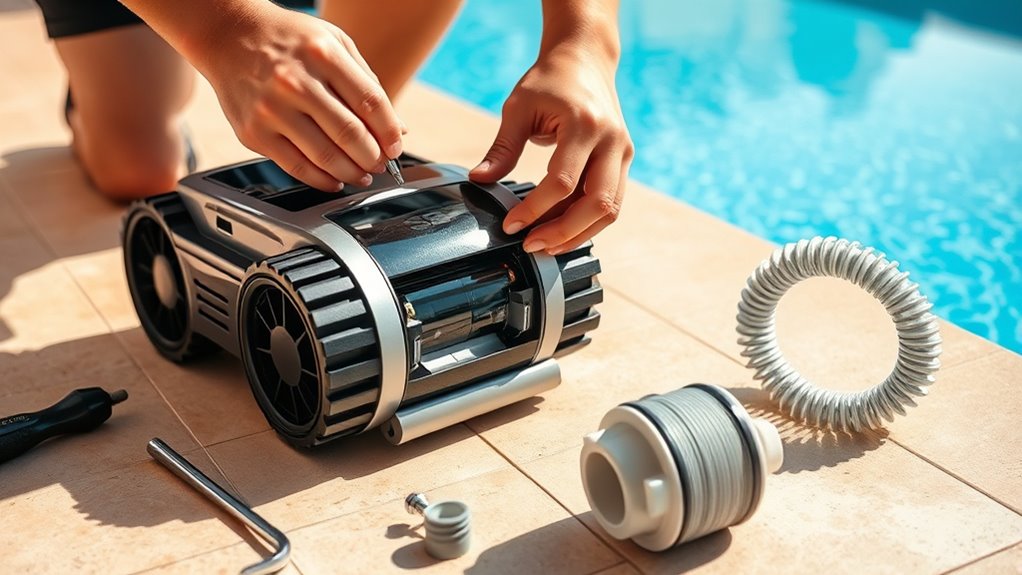
Now that you’ve inspected your parts, it’s time to assemble the main body of the cleaner. Follow the instructions to connect the components securely, ensuring everything fits snugly. Establishing clear connections is essential to prevent malfunctions during operation. Proper assembly can also influence the cleaner’s navigation and efficiency, which are vital for optimal performance. Additionally, verifying component compatibility ensures all parts work seamlessly together, reducing the risk of issues during use. Finally, attach the brushes and cables to complete the setup and prepare your robotic pool cleaner for action. Be sure to verify the connections and conduct a brief system check to ensure all components are functioning correctly before operation. This process mirrors the community engagement aspect of creativity, emphasizing collaboration and thoroughness.
Unboxing and Inspecting Parts
As you unbox your robotic pool cleaner, carefully lay out all the components to make certain everything is present. Double-check the main unit, power supply, and any accessories like brushes or filters. Take a moment to inspect each part for damage or missing pieces, which could impact pool safety or water chemistry if not addressed. Additionally, verifying that the device’s components are compatible with your pool setup ensures proper operation and longevity. Proper inspection helps prevent operational issues later. Familiarizing yourself with the parts ensures smooth assembly and safe use. This step is vital to keep your pool clean and maintain ideal water chemistry. Checking the self-watering system components can prevent potential leaks or malfunctions during operation. Understanding the juice detox effects can help you plan maintenance or troubleshooting if issues arise during the cleaning cycle. Being aware of symptoms of malfunction can also assist in early detection of problems, ensuring your robotic cleaner functions optimally.
Assembling Main Body
Begin by connecting the main body components of your robotic pool cleaner. Confirm all parts fit securely to optimize robotic technology and enhance pool maintenance. Carefully align the motor housing, control panel, and chassis, then fasten them according to the manufacturer’s instructions. Proper assembly guarantees smooth operation and effective cleaning. Remember, a well-assembled main body is essential for reliable performance. Ensuring all components are correctly connected also helps prevent potential malfunctions during operation. Additionally, verifying the compatibility of materials used can extend the lifespan of your robotic cleaner and ensure consistent performance.
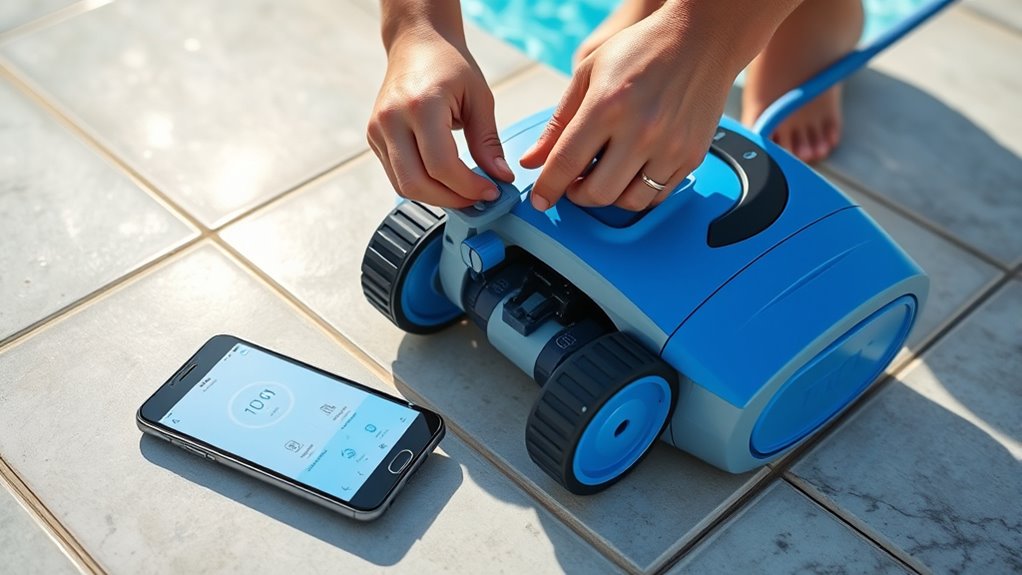
Attaching Brushes and Cables
Attaching the brushes and cables is a crucial step to guarantee your robotic pool cleaner functions effectively. Properly installing the brush attachment ensures maximum scrubbing power, while effective cable management prevents tangles and allows smooth movement. To attach the brushes, align the brush attachment with the designated slots on the cleaner’s base and press firmly until it clicks into place. For cable management, wind the cable neatly around the designated reel or clips on the body, avoiding knots that could hinder movement. Keep these tips in mind:
- Ensure the brush attachment is securely locked in place
- Use cable clips or guides to prevent tangling
- Check that the cable extends freely without obstruction
Following these steps guarantees your cleaner operates efficiently and lasts longer.

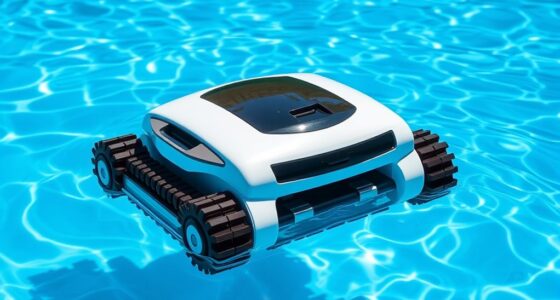
Pool Vacuum for Above Ground Pool, Max Up to 180 Mins, Self-Parking, LED Indicator, Wall&Waterline Cleaning Pool Vacuum for Inground Pools, Robotic Pool Cleaner for Pools up to 2000 Sq
【Cordless Freedom, Smart Cleaning】: Say goodbye to tangled cords and manual hassle,reduce the burden on the waist and…
As an affiliate, we earn on qualifying purchases.
As an affiliate, we earn on qualifying purchases.
Charging the Device Fully Before Use
Before using your robotic pool cleaner, it’s essential to charge it fully to guarantee peak performance. A complete charge maximizes battery life and ensures efficient cleaning. During charging, avoid unplugging the device prematurely, as it can affect power management and reduce overall battery capacity. Once fully charged, you’ll notice the indicator light change, signaling it’s ready. Proper charging habits help maintain ideal battery health, extending the device’s lifespan. Remember, a well-charged cleaner operates more efficiently, saving you time and energy. Here’s a quick guide:
| Step | Action | Tip |
|---|---|---|
| Connect charger | Plug into power outlet | Ensure it’s secure |
| Attach to device | Align charging ports properly | Prevent damage |
| Wait for full charge | Indicator shows it’s complete | Don’t rush the process |
| Unplug safely | Disconnect when done | Preserve battery life |
Additionally, following recommended charging procedures can help prevent battery deterioration and prolong the operational lifespan of your cleaner. Regularly monitoring the battery capacity and maintaining proper charging cycles are crucial for optimal device performance.

Aqua Comb Pool Filter Cartridge Cleaning Tool
DESIGNED AND BUILT FOR LONG LIFE AND USE: The Aqua Comb body is made of UV protected ABS…
As an affiliate, we earn on qualifying purchases.
As an affiliate, we earn on qualifying purchases.
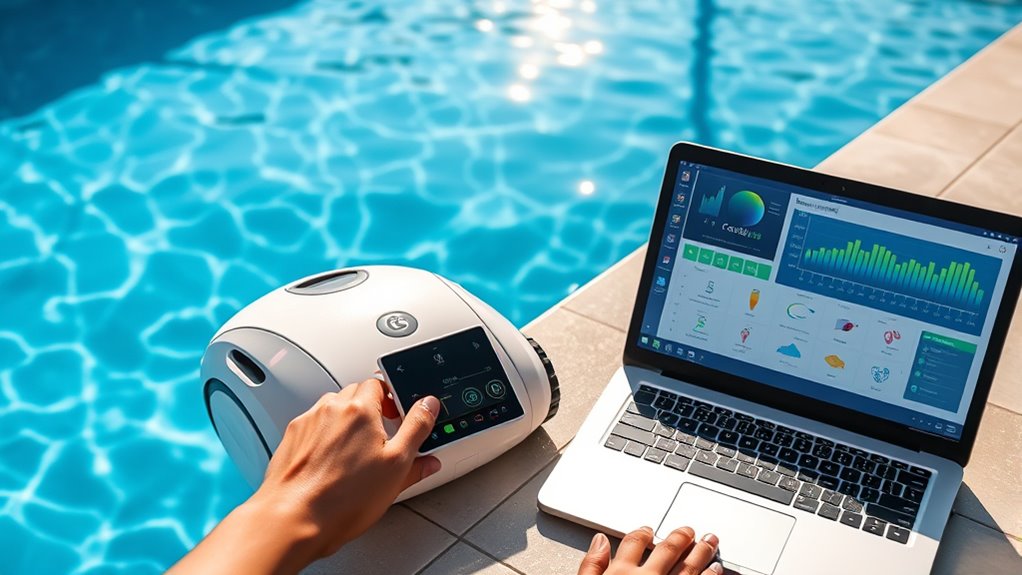
Connecting to the Mobile App or Remote Control
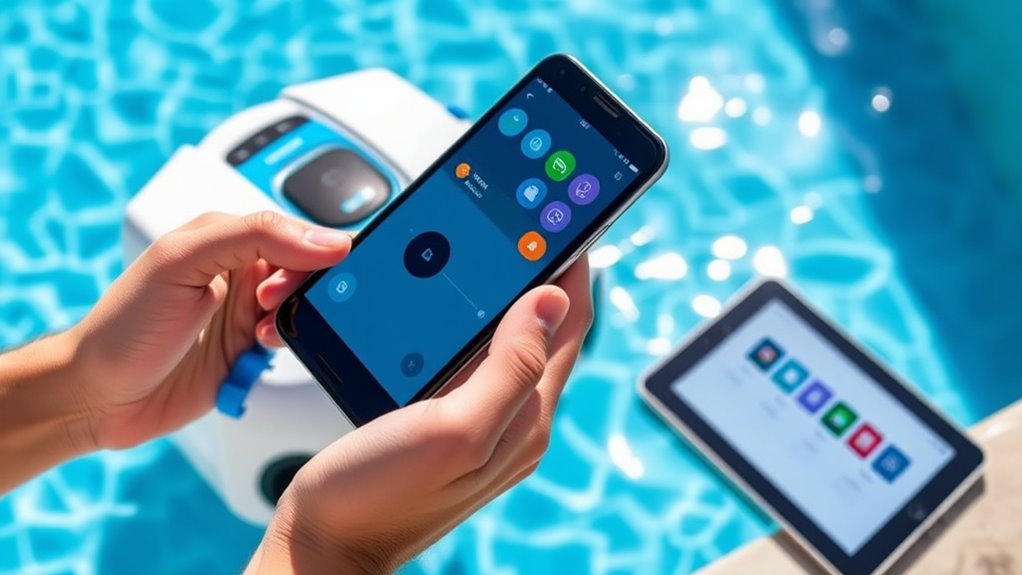
Connecting your robotic pool cleaner to the mobile app or remote control allows you to easily customize cleaning schedules, monitor progress, and adjust settings on the go. With reliable Wi-Fi connectivity, you can control your cleaner from anywhere, making sure your pool stays spotless. To get started, follow these steps:
- Download the compatible app and connect your device via Wi-Fi.
- Pair the remote control with your cleaner by following the manufacturer’s instructions.
- Ensure your mobile device or remote is within range for seamless communication.
- Maintaining a strong Wi-Fi signal is essential for uninterrupted control and real-time updates.
- Leveraging automation in AI technology can further optimize your cleaning routine by scheduling and adapting to pool conditions.
Once connected, you’ll enjoy real-time updates and easy access to all features. Whether adjusting cleaning modes or checking status, the remote control and app make managing your robotic pool cleaner effortless and convenient.
Setting Up the Cleaning Schedule and Modes

You can easily program your pool cleaner to run at specific times that fit your schedule. Choose the cleaning modes that best suit your pool’s needs, whether it’s a quick skim or a deep clean. Adjust the schedule settings to make sure your pool stays spotless without any hassle.
Programming Cleaning Times
Programming your robotic pool cleaner’s cleaning times allows you to customize its operation to fit your schedule and pool usage patterns. You can set specific scheduling intervals, ensuring the cleaner runs when needed most. This feature helps conserve energy and extends the device’s lifespan. To optimize performance, consider creating custom cleaning routines based on pool size and debris levels. Many models let you:
- Schedule cleaning times during off-peak hours
- Set multiple sessions per day or week
- Adjust cleaning frequency based on weather and usage
Selecting Cleaning Modes
Selecting the right cleaning modes is essential to guarantee your robotic pool cleaner operates efficiently and effectively. By choosing modes suited to your pool’s size and debris level, you can maximize filter replacement intervals and ensure the filter doesn’t clog prematurely. Different modes, such as quick clean or deep clean, target specific areas and dirt types, saving energy and extending battery life. Proper mode selection also helps with battery efficiency, preventing unnecessary power drain. Regularly switching modes based on your pool’s condition maintains ideal performance and prolongs your device’s lifespan. Remember to monitor filter status and replace filters as needed to keep cleaning power at its best. With the right modes, your cleaner will deliver spotless results while conserving resources.
Adjusting Schedule Settings
Adjusting the schedule settings on your robotic pool cleaner guarantees it operates when it’s most needed, saving energy and extending battery life. With effective schedule customization, you can set the cleaner to run during off-peak hours or when you’re not around. Use timer adjustments to specify daily or weekly cleaning times, ensuring your pool stays pristine without manual intervention.
To maximize efficiency, consider:
- Setting specific days and times for cleaning sessions
- Adjusting the duration of each cleaning cycle
- Using manual overrides for urgent cleanups
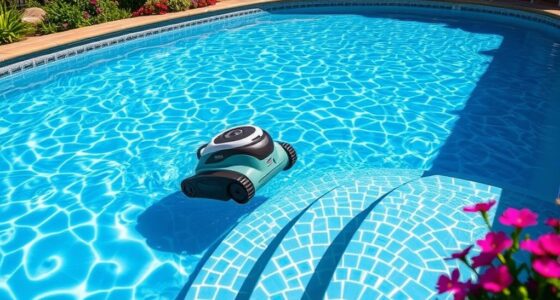
Calibrating the Navigation System

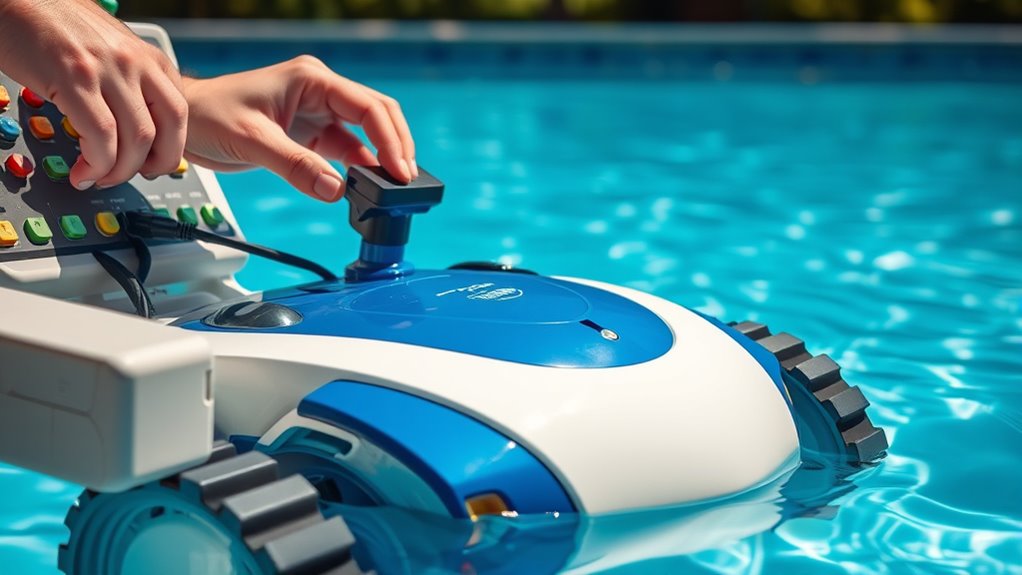
Have you ever wondered how a robotic pool cleaner navigates efficiently across your pool’s surface? Calibrating the navigation system is key to guaranteeing optimal navigation accuracy. Start by placing the cleaner in the pool and powering it on. Follow the manufacturer’s instructions to initiate calibration mode. During this process, the cleaner will use sensors to map the pool’s layout, improving obstacle detection and movement precision. Make sure to clear the pool of large objects beforehand, as this helps the system learn the space better. As the cleaner runs through its calibration, observe its movements to ensure it’s covering the entire area without hesitation. Proper calibration minimizes missed spots and enhances obstacle detection, allowing your cleaner to navigate smoothly and efficiently every time.
Testing the Cleaner in the Pool
Once you’ve completed calibration, it’s time to test the cleaner in the pool to guarantee it operates as expected. Before starting, check water quality to ensure proper filtration and clarity. Make sure you follow safety precautions, such as removing any obstacles or loose objects from the pool.
During testing, observe how the cleaner navigates and covers the surface. Keep an eye on:
- Its ability to reach all pool areas efficiently
- Any irregular movements or stalls
- Water flow and debris collection effectiveness
This step confirms your setup is correct and helps identify issues early. Confirming water quality is maintained during testing prevents damage, and safety precautions protect you and others. Once satisfied, you can confidently leave your robotic cleaner to do its job.
Troubleshooting Common Setup Issues
Even though you’ve carefully set up your robotic pool cleaner, you may encounter common issues that hinder its performance. Navigation issues are frequent, causing the cleaner to miss spots or get stuck. Check for obstacles like pool toys, hoses, or debris that could block its path. Ensure the brushes and tracks are clean and functioning properly. Connectivity problems are also common, especially with Wi-Fi or app controls. Restart your router and reconnect the cleaner, making sure it’s within range. Double-check the network settings and update the device firmware if needed. Sometimes, a simple reset or re-pairing solves these issues. If problems persist, consult the user manual or contact customer support to troubleshoot further. Staying attentive to these common setup issues helps guarantee smooth operation.
Maintaining and Storing Your Robotic Pool Cleaner
Regular maintenance and proper storage are essential to keep your robotic pool cleaner operating efficiently and extending its lifespan. To guarantee peak performance, regularly clean the filter and check for debris after each use. Maintain balanced pool chemistry, especially pH and chlorine levels, to prevent corrosion and damage to your device. When storing, ensure the cleaner is completely dry and in a cool, shaded area to avoid mold and deterioration. Keep safety precautions in mind: disconnect power before handling, and avoid exposure to harsh chemicals. Consider these tips:
- Rinse and clean the cleaner after each use
- Store in a dry, shaded spot away from chemicals
- Regularly inspect for wear and tear to prevent malfunctions
Frequently Asked Questions
How Often Should I Replace the Filter or Brushes on My Robotic Pool Cleaner?
You should perform filter maintenance regularly, ideally every 1-2 weeks, depending on pool usage and debris levels. Replace brushes every 3-6 months to keep your robotic pool cleaner working efficiently. Keep an eye on brush wear and filter buildup, as worn brushes and clogged filters reduce cleaning power. Frequent maintenance ensures peak performance, prolongs your cleaner’s lifespan, and keeps your pool sparkling clean without interruptions.
Can I Use My Robotic Pool Cleaner in Saltwater Pools?
You can use your robotic pool cleaner in saltwater pools if it’s saltwater compatible. Check the manufacturer’s guidelines for saltwater compatibility and corrosion resistance. Many modern cleaners are designed to resist corrosion, making them suitable for saltwater environments. make certain you rinse the cleaner thoroughly after use to prevent salt buildup, and regularly inspect for any signs of corrosion to keep it in top shape.
What Safety Precautions Should I Follow During Setup and Operation?
During setup and operation, you should prioritize electrical safety by ensuring the power source and cord are dry and properly grounded. Always handle chemicals carefully, avoiding splashes on the device. Keep the robotic cleaner away from pool chemicals and electrical outlets to prevent accidents. Never operate the cleaner when people are in the pool, and unplug it before performing maintenance. These precautions keep you safe and extend your device’s lifespan.
How Do I Update the Firmware or Software of the Device?
To update your robotic pool cleaner’s firmware and software upgrades, first check the manufacturer’s app or website for the latest versions. Connect your device to Wi-Fi, then follow the app instructions to download and install updates. Usually, updates happen automatically, but manual updates ensure you get the newest features and fixes. Keeping your firmware current helps maintain best performance and prevents potential issues.
Is It Safe to Leave the Robotic Cleaner in the Pool Overnight?
Leaving your robotic pool cleaner in the pool overnight is generally safe if it’s designed for continuous use, but you should always consider electrical safety and battery life. Make sure it’s properly sealed and waterproof to prevent electrical hazards. Check the manufacturer’s guidelines for overnight use, as prolonged exposure may affect battery performance. Always unplug or turn off the device when not in use, and regularly inspect for damage to maintain safe operation.
Conclusion
Now that you’ve set up and programmed your robotic pool cleaner, you’re ready to enjoy crystal-clear water with less effort. Regular maintenance and proper storage will keep it running smoothly for years to come. Remember, a stitch in time saves nine—taking care of your cleaner today prevents bigger problems tomorrow. With a little patience and attention, you’ll make pool cleaning a breeze, so sit back and relax while your device does the work for you.