
If you notice water pooling around the basin’s edge or dampness on your countertop, you may have a leak. Common causes include worn-out seals, clogs, or improper installation. Inspect your sink thoroughly for cracks, gaps, or deteriorated sealant. Tighten fittings and replace damaged parts as needed. Regular maintenance can prevent future issues. To learn more about troubleshooting and fixing these leaks, follow these simple steps to keep your basin watertight.
Key Takeaways
- Inspect sealant, caulking, and edges for cracks, gaps, or deterioration to identify leak sources.
- Check for worn seals, loose fittings, or misaligned components causing overflow or leaks.
- Clear clogged drains and debris to prevent backups and water overflow.
- Use proper tools and waterproof sealant to reseal or replace damaged gaskets and fittings.
- Regularly examine and maintain your basin to detect early signs of leaks and prevent water damage.
sink leak repair kit
As an affiliate, we earn on qualifying purchases.
As an affiliate, we earn on qualifying purchases.
Recognizing the Signs of an Edge Leak
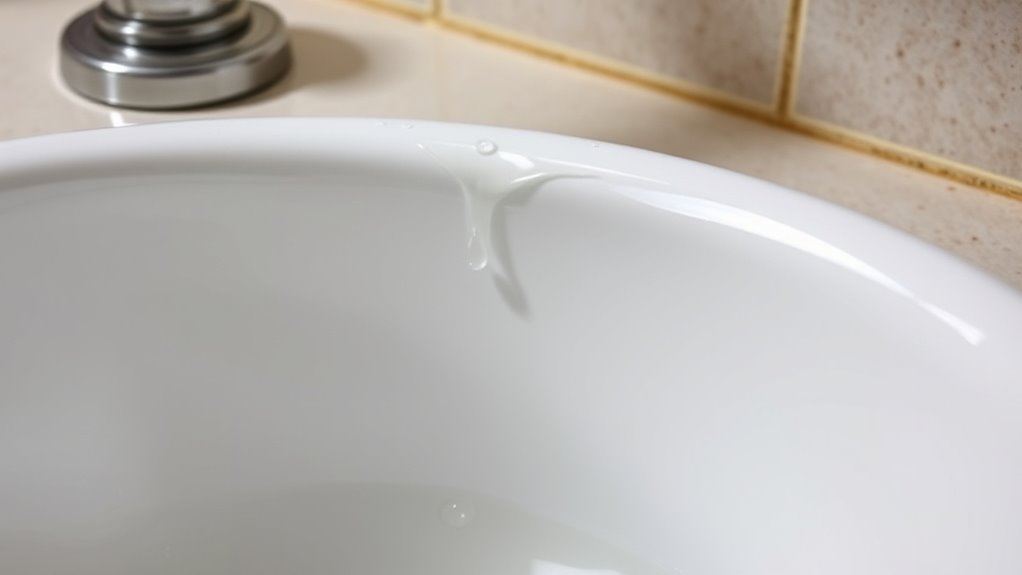
Edge leaks often develop gradually, making them tricky to spot at first. You might notice water pooling around the basin’s edge or dampness on the countertop. Look for discoloration, mold, or a musty smell, which can signal hidden leaks. Pay attention to any water stains or peeling caulk near the edge, as these are common signs of leakage. You may also see water running down the sides or dripping from the edge after use. Sometimes, the leak isn’t obvious until it worsens, so keep an eye on any changes in water levels or unexpected dampness. Recognizing these signs early helps prevent more extensive damage and allows for quicker repairs before the problem worsens.
bathroom basin sealant caulk
As an affiliate, we earn on qualifying purchases.
As an affiliate, we earn on qualifying purchases.
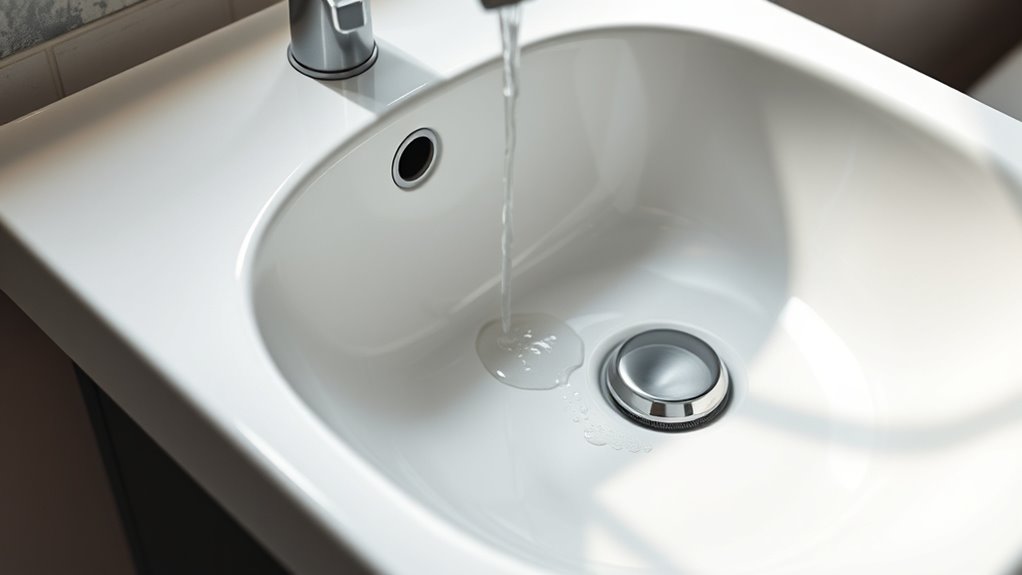
Common Causes of Overflow and Basin Leaks

Many overflow and basin leaks happen because of simple issues like worn-out seals or a clogged drainage path. Improper installation can also lead to persistent leaks that worsen over time. Understanding these common causes helps you identify and fix problems before they escalate. Additionally, proper maintenance practices are crucial for preventing leaks and ensuring the longevity of your fixtures.
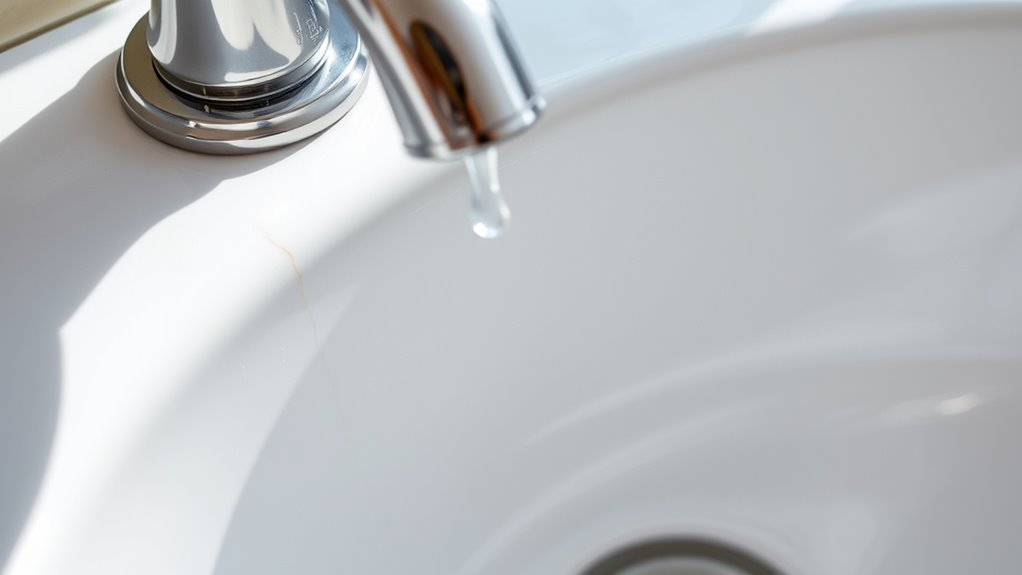
Worn Out Seals
Worn out seals are a common culprit behind overflow and basin leaks, especially in older or heavily used fixtures. Over time, rubber or silicone seals can degrade, crack, or become brittle, losing their ability to create a watertight barrier. When seals fail, water seeps through gaps around the faucet or drain assembly, causing leaks at the edges. These leaks often lead to persistent drips or pooling water, which can damage fixtures and surrounding surfaces. If you notice water around the base of your faucet or drain, worn seals might be the cause. Regular maintenance helps prevent leaks caused by seal deterioration. Additionally, understanding the role of seal materials can help in choosing durable replacements for long-lasting repairs.
Clogged Drainage Path
Clogged drainage pathways are a common cause of overflow and basin leaks, especially when debris accumulates and obstructs water flow. Hair, soap scum, food particles, and other debris can build up over time, narrowing or completely blocking the drain. When water can’t pass through efficiently, it backs up, leading to overflowing basins or leaks around the edges. Regularly inspect and clear out the drain to prevent blockages. Use a drain snake or a plunger to remove stubborn clogs, and consider using a drain cleaner for built-up residue. Keeping the drain clear ensures proper water flow, reducing the risk of leaks and water damage. Promptly addressing clogs helps maintain your basin’s integrity and prevents costly repairs. Incorporating effective drain cleaning practices can further enhance drainage efficiency and prevent future issues.
Improper Installation
Improper installation often leads to overflow and basin leaks because components are not aligned or sealed correctly from the start. If the faucet, drain, or seals aren’t fitted properly, water can escape through gaps or misalignments. For example, a loose or uneven seal around the drain can cause water to leak at the basin’s edge. Similarly, installing the overflow pipe incorrectly might prevent it from functioning properly, leading to overflows. Always double-check that all fittings are tightened securely and seals are seated properly during installation. Use the right tools and follow manufacturer instructions carefully. An improper setup might not be obvious at first, but over time, small leaks can develop into significant water damage. Proper installation ensures a tight, leak-proof fit from the beginning.
drain clog remover for sinks
As an affiliate, we earn on qualifying purchases.
As an affiliate, we earn on qualifying purchases.
Inspecting Your Sink or Basin for Issues
Start by checking your sink or basin for any cracks or gaps that might cause leaks. Then, examine the sealant around the edges to make sure it’s intact and not deteriorating. Finally, inspect the drain fittings to make sure they’re tight and properly sealed. Also, consider performing a simple leak detection test to identify hidden leaks that may not be immediately visible.
Check for Cracks or Gaps
To identify potential leaks, carefully examine your sink or basin for visible cracks or gaps. Look closely at the edges, corners, and seams where different materials meet. Use a flashlight to highlight any small fractures that might be hard to see in dim light. Check for uneven surfaces or areas where the material seems to be separating or warping. Even tiny cracks can allow water to seep through over time, causing leaks. Pay special attention to the area around the drain and edges near the faucet. If you notice any cracks or gaps, it’s a sign that repairs are necessary before water damage worsens. Addressing these issues early can prevent more extensive damage and help keep your sink or basin functioning properly. Regular inspections can also help detect early signs of damage, ensuring timely repairs and avoiding costly repairs later.
Examine Sealant Condition
Examining the sealant around your sink or basin is essential to identify potential leaks. Look closely at the caulking or sealant for cracks, gaps, or deterioration. Over time, sealant can become brittle or peel away, creating gaps where water can seep through. Check for areas where the sealant no longer adheres properly to the surface, especially around the edges and corners. If you notice any mold, discoloration, or crumbling material, it’s a sign the sealant needs replacing. A compromised seal can lead to persistent leaks and water damage beneath your sink. Regular inspections prevent small issues from escalating. If you find any damaged sealant, scraping it out and reapplying fresh, waterproof caulk ensures a tight seal and helps keep your sink leak-free. Incorporating proper maintenance techniques can extend the lifespan of your fixtures and prevent future problems.
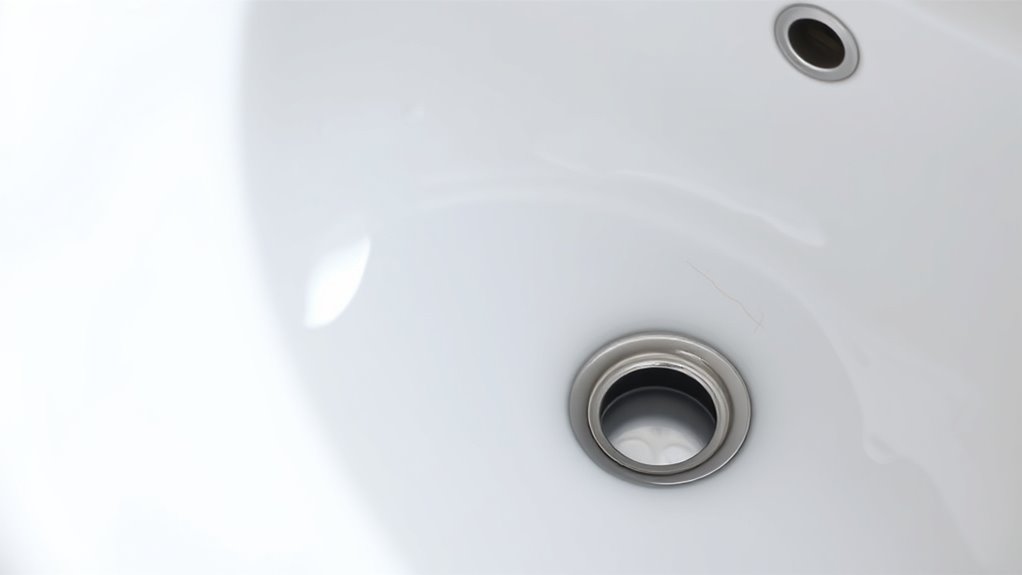
Inspect Drain Fittings
Inspecting your sink’s drain fittings is a crucial step in troubleshooting leaks. First, check the fittings around the drain for any signs of looseness or corrosion. Tighten any loose nuts or bolts carefully, but avoid overtightening, which can cause damage. Look for cracks or gaps in the fittings or seals—these can allow water to escape. If you notice corrosion or buildup, clean the fittings thoroughly. Remove and reseal the fittings if necessary, using fresh plumber’s putty or a suitable sealant. Ensure all connections are snug but not overly tight. Regular inspection helps catch small issues before they become major leaks, saving you time and money. Properly maintained drain fittings are key to preventing persistent basin leaks. Additionally, staying aware of potential AI vulnerabilities and other technological risks can help you adopt safer practices in modern maintenance.
faucet and drain replacement parts
As an affiliate, we earn on qualifying purchases.
As an affiliate, we earn on qualifying purchases.
Tools and Materials Needed for Repairs

Before you start repairing a leak at the edge of your basin or overflow, gathering the right tools and materials is essential. Having everything on hand ensures a smooth and efficient repair process. You’ll need basic tools like an adjustable wrench to loosen fittings, a screwdriver for removing screws, and a putty knife to clean surfaces. Additionally, gather repair materials such as plumber’s putty or silicone sealant to create a watertight seal, replacement washers or gaskets if existing ones are damaged, and rags or towels for cleanup. Make sure your workspace is clean and well-lit before beginning. Having these tools and materials ready will help you address the leak quickly and effectively, saving you time and avoiding unnecessary trips to the hardware store. Properly understanding vetted products for effectiveness and safety can also guide you in selecting the best repair materials.
Step-by-Step Guide to Fixing a Leak at the Edge
To fix a leak at the basin edge or overflow, start by turning off the water supply and draining the area. Remove any items blocking access to the leak, then carefully detach the basin or overflow cover, using a wrench if needed. Inspect the sealant or gasket around the edge; if it’s cracked or worn, scrape it off completely. Clean the surface thoroughly to ensure a good seal. Apply a fresh bead of waterproof silicone caulk around the edge or overflow opening. Reattach the cover securely, making sure it’s aligned properly. Turn the water supply back on slowly and check for leaks. If you see any drips, tighten the cover slightly or reapply silicone where needed. Properly sealing the edges with waterproof silicone caulk can prevent future leaks and ensure a secure fit. This should stop the leak at the edge effectively.
When to Call a Professional Plumber

While many basin leaks can be fixed with basic DIY steps, there are times when calling a professional plumber is the best choice. If you’ve tried troubleshooting but the leak persists or worsens, it’s time to seek expert help. Also, if you notice water damage around the basin or persistent foul odors, don’t delay calling a professional. Plumbing issues can sometimes be complex or hidden, making DIY repairs risky. Recognizing common leak symptoms can help determine when to escalate to professional assistance.
Preventative Measures to Avoid Future Leaks
Taking proactive steps can substantially reduce the risk of basin leaks and water damage. Regularly inspect your faucet, drain, and seals for signs of wear or corrosion, replacing parts as needed. Keep drain openings clear of debris to prevent clogs that lead to overflow. Tighten loose fittings and connections to prevent leaks from developing. Avoid using harsh chemicals that can degrade seals or pipes over time. Consider installing a leak detector or water alarm near your basin; these devices alert you to leaks early. Schedule routine maintenance to catch problems before they escalate. By staying vigilant and performing these simple checks, you can extend the lifespan of your basin and avoid costly repairs down the line.
Frequently Asked Questions
How Long Does a Typical Sink Leak Repair Take?
A typical sink leak repair usually takes about 1 to 3 hours, depending on the complexity of the issue. If you’re fixing a simple drain or faucet leak, it might take less time. However, if the problem involves replacing pipes or addressing structural damage, it could take longer. Make sure you have the right tools and replacement parts ready to hasten the process and ensure a proper fix.
Are There Eco-Friendly Sealants for Basin Leaks?
Yes, there are eco-friendly sealants available for basin leaks. Look for products labeled as biodegradable, non-toxic, or made from natural ingredients like silicone or plant-based compounds. These sealants effectively prevent leaks while being safe for the environment and your household. Always read the labels and follow application instructions to guarantee proper sealing. Choosing eco-friendly options helps protect your home and the planet simultaneously.
Can I Repair a Leak Without Shutting off Water Supply?
You can attempt a temporary repair without shutting off the water supply, but it’s risky. First, identify the leak source carefully, then dry the area thoroughly. Use waterproof tape or a repair putty designed for plumbing to seal the leak temporarily. Keep in mind, this isn’t a permanent fix, so you should plan to shut off the water and properly repair the leak as soon as possible to prevent further damage.
What Are the Safety Precautions During Basin Leak Repairs?
During basin leak repairs, you should wear gloves and safety goggles to protect your eyes and skin from potential splashes or sharp edges. For example, if you’re replacing a faulty seal, gloves prevent cuts from metal parts. Always turn off the water supply before starting, even if you’re cautious. Keep a bucket nearby for spills, and work in a well-ventilated area to avoid inhaling fumes from cleaning agents or sealants.
How Often Should I Inspect My Sink for Potential Leaks?
You should inspect your sink weekly to catch potential leaks early. Look for water stains, mold, or dampness around the base and under the sink. Check the faucet and drain connections for drips or corrosion. Regular inspections help you identify problems before they escalate, saving you money and preventing water damage. Make it a habit to monitor your sink frequently, especially if you notice any signs of moisture or unusual sounds.
Conclusion
If you suspect your leak is a sign of a deeper issue, remember that addressing small problems early can prevent costly repairs later. Some believe that leaks are simply wear and tear, but they often reveal underlying plumbing weaknesses. By staying vigilant and maintaining your sink, you’re not just fixing leaks—you’re safeguarding your home’s foundation. Trust that proactive care today can lead to a leak-free tomorrow, proving prevention truly is better than cure.