
To make your edges disappear in Instagram photos, try angles that flatter your natural shape. Slightly tilt your body or shoulders to create a slimming effect, and shoot from above to enhance your profile. Use natural light by positioning near windows or outdoors during golden hour for a radiant look. Incorporate foreground elements and strategic framing to guide focus and soften lines. Want step-by-step tips to master these techniques? Keep exploring for all the secrets.
Key Takeaways
- Tilt your body slightly and angle hips or shoulders to create a slimming, dynamic silhouette.
- Use high-angle shots from above to elongate the neck and minimize problem areas.
- Face natural light sources, like windows or golden hour sun, to achieve even, flattering illumination.
- Incorporate side or profile angles to soften features and reduce sharp edges visually.
- Frame your shot with intentional composition, using props or off-center positioning to draw focus away from edges.

2-Pack LED Video Light Kit, NiceVeedi Studio Light, 2800-6500K Dimmable Photography Lighting Kit with Tripod Stand&Phone Holder, 73" Stream Light for Video Recording, Game Streaming, YouTube
【MULTIPLE COLOR TEMPERATURE & ADJUSTABLE BRIGHTNESS】There are 3 Color temperatures (2800K, 4800K & 6500K) which offer different lighting…
As an affiliate, we earn on qualifying purchases.
As an affiliate, we earn on qualifying purchases.
The Slight Tilt: Achieving a Slimming Effect

To create a slimming effect in your Instagram photos, a subtle tilt can make a noticeable difference. When you slightly angle your body, it helps create a more streamlined silhouette, drawing attention away from areas you want to conceal. For example, tilting your hips or shoulders gently can elongate your torso and reduce the appearance of bulk. Keep your chin slightly down and turn your body at a gentle angle rather than facing the camera straight on. This technique adds depth and dimension, making you look slimmer and more dynamic in photos. Remember, the key is subtlety—overdoing it can look awkward. Practice different angles in front of a mirror to discover what works best for your body shape and gives you that confident, slimmed-down look. Additionally, experimenting with different photo angles can help you find the most flattering perspective for your unique features.

Amazon Basics 64-inch Extendable Tripod for iPhones and Smartphones, Selfie Stick Mode and Phone Tripod Mode, Black
Rotatable twist with 1/4"screw allows 360° adjustment and 180° flipping, so you can take photos, video call or…
As an affiliate, we earn on qualifying purchases.
As an affiliate, we earn on qualifying purchases.
Over-the-Shoulder Shots for a Flattering View
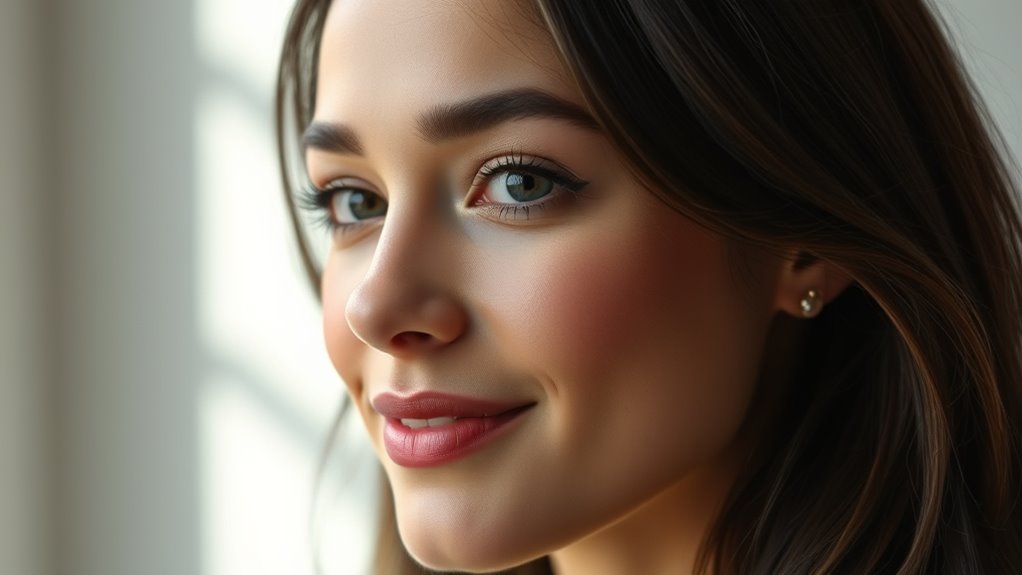
To get the most flattering over-the-shoulder shot, you should find your best angle that highlights your features. Make sure to use natural lighting, which softens shadows and adds glow, and keep your shoulder relaxed for an effortless look. When you focus on these points, your photos will look polished and appealing every time. Additionally, choosing a setting with rustic decor can enhance the overall aesthetic of your shot.
Find Your Best Angle
Finding your best angle with over-the-shoulder shots can dramatically enhance your Instagram photos. To discover what works, experiment by varying your head tilt, shoulder position, and camera height. Some angles highlight your jawline, while others accentuate your eyes or cheekbones. Using the right photo angles can help your features stand out and create a more flattering image. Try this quick guide:
| Angle Type | Effect | Tips |
|---|---|---|
| Slightly above | Slimmer face | Look up slightly and tilt chin down |
| Eye-level | Natural look | Keep camera at your eye line |
| Downward | Longer neck | Tilt head back slightly |
Use these angles to find your most flattering view. Practice different positions to see what makes your features pop and your confidence soar. Your perfect shot is just an angle away!
Use Natural Lighting
Ever wondered how natural lighting can elevate your over-the-shoulder Instagram shots? It creates a soft, flattering glow that enhances your features and adds depth. To make the most of it, position yourself near a large window or outdoors during golden hour. Here are some tips to maximize natural light:
- Face the light source to avoid harsh shadows and ensure your features are evenly lit.
- Use diffused sunlight by shooting on cloudy days or with sheer curtains to prevent overexposure.
- Avoid direct midday sun to prevent unflattering shadows and squinting.
- Let light fall gently on your shoulder for a natural, radiant look that makes your edges disappear.
- Adjust your camera settings to optimize brightness and contrast, capturing the full benefits of natural lighting for a home cinema projector-quality shot.
Harness natural lighting, and your over-the-shoulder shots will look effortlessly stunning.
Keep Shoulder Relaxed
Have you noticed how tense shoulders can make your over-the-shoulder photos look stiff or uncomfortable? Relaxing your shoulders creates a more natural, flattering appearance. Drop your shoulders away from your ears and gently roll them back. Keep your posture upright but loose, avoiding rigidity. This subtle adjustment softens your overall look and highlights your face and shoulders beautifully. Remember, tension shows in photos, so stay mindful of your body language. To help, try this simple focus:
| Tip | Effect | Why It Works |
|---|---|---|
| Drop shoulders | Softens posture | Reduces stiffness |
| Keep neck elongated | Slims appearance | Avoids double chin |
| Relax jaw | Natural smile | Enhances facial expression |
Practicing these can make your over-the-shoulder shots look effortless and elegant. Additionally, maintaining good posture can further enhance your overall appearance and confidence in photos.

WELLMAKING 32 Inch (80cm) Reflector Photography, Collapsible Light Reflector with Bag & tilt Adapter, 5 in 1 Handle Reflector for Studio & Outdoor Lighting -Translucent, Silver, Gold, White and Black
【5-In-1】 A 32’’/80cm 5-in-1 interchangeable reflector (silver/gold/white/black/translucent) lets you bounce light with ease: silver to reflect light without…
As an affiliate, we earn on qualifying purchases.
As an affiliate, we earn on qualifying purchases.
The Power of Side Angles to Minimize Edges
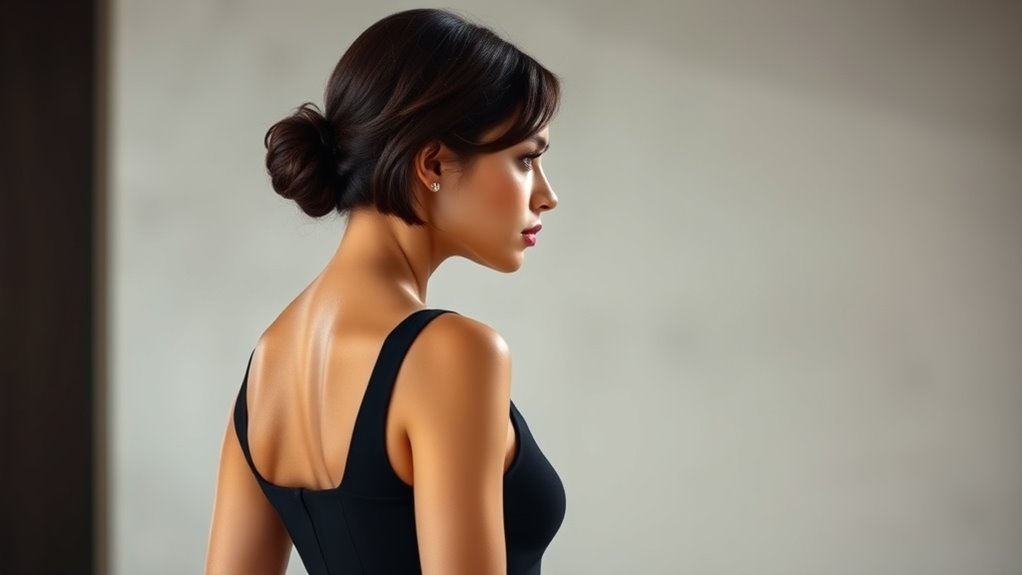
Using side angles in your shots can dramatically reduce the appearance of harsh edges, creating a more polished and natural look. When you shoot from the side, your features appear softer and more blended, minimizing sharp lines that might draw attention. This technique works especially well for smoothing out jawlines, cheekbones, or any prominent edges. To visualize this, imagine:
- A profile shot that gently curves around your face, hiding any sharp angles.
- A tilt that emphasizes your cheekbones while softening your jawline.
- A side view that elongates your neck, reducing the focus on edges.
- An angle where your face turns slightly away, creating natural shadows that blur edges for a seamless appearance.
- Incorporating lighting techniques can further enhance the smoothing effect and add depth to your photos.
Using side angles subtly transforms your photos into sleek, flattering images.

Apexel Phone Camera Lens, 2 in 1 Cell Phone Clip-on Lens Kit 0.45X Wide Angle Lens 140°+ 12.5X Macro Lens Clip-on iPhone Lens for iPhone Samsung and Most of Android Smartphone
【High-quality 2 in 1 Design】Professional HD lens minimizes lens glare, reflection, ghosting and other artifacts for superb clarity….
As an affiliate, we earn on qualifying purchases.
As an affiliate, we earn on qualifying purchases.
Using Foreground and Background for Depth and Distraction
Using foreground and background elements can add depth to your photos, making them more engaging. Layering creates visual interest and guides the viewer’s eye through the image. Be mindful of distracting elements, and manage them carefully to keep the focus on your main subject. Incorporating spatial arrangement principles from interior design can further enhance the composition and balance within your photos.
Layering for Visual Interest
Layering elements in your photos adds depth and makes your images more engaging. By skillfully combining foreground and background objects, you create a sense of dimension that draws viewers in. To achieve this, consider these techniques:
- Place a vibrant flower or interesting object close to your lens to serve as the foreground.
- Use a mesmerizing scene or textured wall in the background to add context.
- Incorporate layered elements like leaves or curtains to frame your subject.
- Position objects at varying distances to enhance the perception of depth.
- Understanding how tuning modifications can influence the overall aesthetic helps you select the right elements to include in your composition.
These layers guide the viewer’s eye and make your photo feel more dynamic, transforming a flat shot into a captivating visual story. Proper layering elevates your Instagram game and makes your edges virtually disappear.
Distracting Elements Management
While adding depth to your photos can enhance their appeal, distracting elements in the foreground or background can undermine that effect. To manage this, always scan your scene before shooting. Remove or reposition objects that draw attention away from your main subject. Use a wide aperture to blur busy backgrounds, minimizing distractions and emphasizing your focus. In the foreground, simplify by clearing clutter or choosing a clean, intentional element that guides the viewer’s eye toward your subject. Sometimes, a subtle distraction can add context, but too many compete for attention. Pay attention to lines and shapes that lead away or toward your focal point. By controlling what’s in the frame, you ensure your photo’s depth remains engaging without the distraction compromising its impact. Additionally, understanding auditory processing can help you recognize how different elements draw attention and disrupt focus, which can be applied creatively to your photographic compositions.
The High Angle Technique to Slim Your Profile
Have you ever wondered how a simple camera angle can dramatically change your profile’s appearance? The high angle technique is a game-changer for slimming your profile. By holding the camera above your head and looking up, you create a more flattering silhouette.
Imagine these effects:
Envision a sharper jawline, a longer neck, and a more lifted, youthful face through strategic camera angles.
- Your jawline appears sharper and more defined.
- Your neck looks longer and more elegant.
- Your shoulders seem narrower, reducing bulk.
- Your face looks more lifted and youthful.
This angle draws attention upward, emphasizing your best features while minimizing areas you might want to hide. Practice tilting the camera slightly and positioning yourself at a higher vantage point—your profile will look slimmer, more refined, and photogenic. Additionally, understanding body language can help you pose more confidently and naturally in photos.
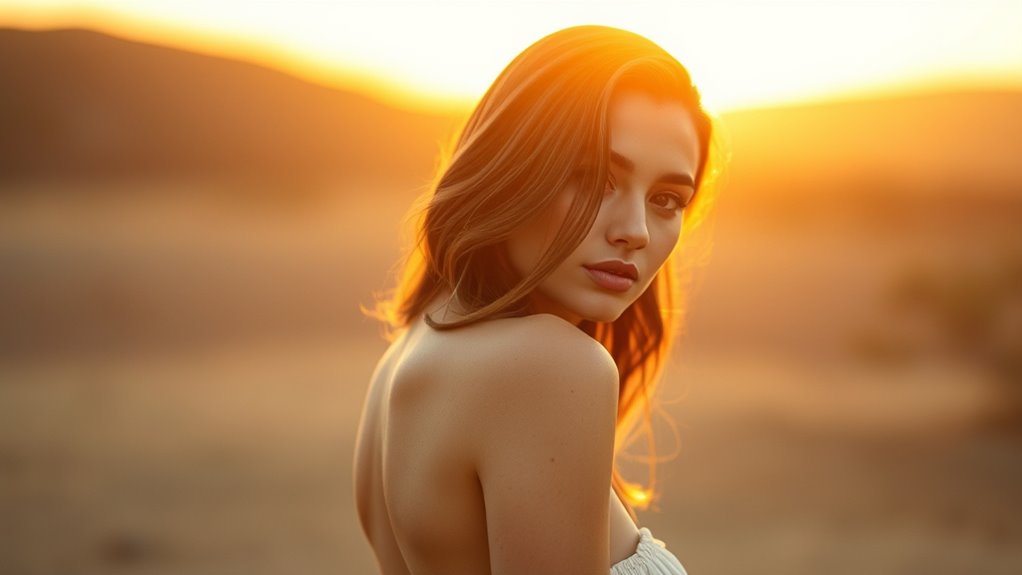
Incorporating Natural Light to Enhance Features
Natural light is one of the most effective tools for highlighting your best features in photos. When you position yourself near a window or outdoors during golden hour, your skin appears more radiant, and your eyes shine naturally. Soft, natural light reduces shadows that can emphasize imperfections, creating a smooth, flattering look. To maximize this effect, face the light source directly or at a slight angle, which helps illuminate your face evenly. Avoid harsh midday sun, which can cause unflattering shadows and washed-out skin. Instead, choose diffused light, like on an overcast day or shaded area, for a gentle glow. Incorporating natural light not only enhances your features but also adds a genuine, vibrant feel to your photos, making your edges less noticeable.
Strategic Framing to Draw Focus Away From Edges

Strategic framing is essential for directing attention to your best features and minimizing distractions around your edges. By carefully positioning your body and camera, you can create a focal point that naturally draws the viewer’s eye inward. Consider these framing techniques:
- Place your face or main feature slightly off-center, guiding the viewer’s gaze to that area.
- Use objects or props to frame your face, like leaves or doorways, creating a visual boundary that directs focus.
- Incorporate leading lines, such as a hallway or railing, pointing toward your face.
- Crop your shot to exclude distracting edges, emphasizing the most important part of the photo.
With intentional framing, you control where the viewer’s eye lands, making your features pop and your edges fade into the background.
Frequently Asked Questions
How Do I Choose the Best Angle for My Face Shape?
To find the best angle for your face shape, experiment by turning your head slightly and capturing different perspectives. For round faces, try a high-angle shot to elongate your features. If you have a square face, opt for a side profile to soften your jawline. Play with lighting and camera distance to highlight your best features and avoid angles that emphasize any areas you’re less confident about.
Can These Techniques Work for All Camera Types and Phone Models?
Yes, these techniques can work for all camera types and phone models. You just need to experiment with different angles and lighting to see what flatters you best. Most smartphones have similar front and rear camera features, so adjusting your position and tilt will help improve your photos regardless of the device. Keep practicing, and you’ll find the perfect angles that highlight your best features no matter what camera you use.
Are There Specific Clothing Tips to Complement These Angles?
Sure, wearing bold patterns or bright colors might seem like a good idea, but subtle, solid shades actually work better with these angles. Avoid clingy or overly tight clothing that can accentuate edges or imperfections. Instead, opt for well-fitted, smooth fabrics that create clean lines. Keep your outfit simple and sleek to highlight your best features—after all, the goal is to enhance your natural shape, not distract from it.
How Do I Maintain Natural Expressions While Using These Angles?
To keep your expressions natural when using these angles, relax your face and breathe normally. Focus on genuine smiles or subtle expressions that reflect your mood. Practice in front of a mirror to see what feels authentic, and take multiple shots to capture your best look. Don’t overthink it—trust your instincts, stay relaxed, and let your personality shine through to maintain a natural, effortless vibe.
What Editing Tools Can Enhance These Angle Effects Further?
To enhance those flattering angles, you can explore editing tools like Lightroom or VSCO. They let you subtly smooth skin, boost lighting, and refine shadows, creating a seamless look that accentuates your natural charm. Play with filters to add warmth or cool tones, giving your photo a polished vibe. Just remember, the goal is to highlight your authentic self, so keep edits tasteful and true to your style.
Conclusion
By mastering these angles, you can confidently showcase your best features and feel more comfortable in front of the camera. Did you know that photos taken at a slight tilt are 30% more likely to engage viewers? So next time you’re snapping a pic, remember these tips to make your edges disappear and your confidence shine through. With a little practice, you’ll turn every shot into a stunning, flattering masterpiece.