Switching from a suction to a pressure pool cleaner involves first evaluating your pool’s size, shape, and existing system to confirm compatibility. Next, turn off your pump, disconnect the suction cleaner, and gather the necessary tools and parts for installation. Attach the pressure cleaner securely, check for leaks, and adjust the flow and pressure settings for peak performance. For a smooth switch and efficient cleaning, follow detailed instructions to properly set up your new system.
Key Takeaways
- Turn off the pool pump and disconnect the existing suction cleaner to prevent water flow and ensure safety.
- Clean the pool surface and inspect hoses and fittings for damage before installing the pressure cleaner.
- Attach the pressure cleaner securely to the pressure line or skimmer fitting, ensuring proper hose connections.
- Adjust the pressure settings gradually to optimize cleaning performance without straining the pump.
- Perform a test run, monitor the cleaner’s movement, and fine-tune pressure and connections for efficient operation.

MAKHOON Upgrade Pool Pressure Side Sweeper: Professional Solution for Cleaning Your Swimming Pool (Four Wheels are Better Than Three) Need 1.5" Female Thread Pool Booster Pump Inlet, 4 Bar Pressure
Upgrade & Improvement: The hose and machine components are crafted from high-quality plastics, rigorously refined and upgraded for…
As an affiliate, we earn on qualifying purchases.
As an affiliate, we earn on qualifying purchases.
Assessing Your Pool’s Cleaning Needs and Compatibility
Before switching to a pressure pool cleaner, you need to evaluate whether it suits your pool’s specific cleaning needs. Start by gauging your pool chemistry, making certain that chemicals are balanced to prevent algae and debris buildup. If your water chemistry is off, a pressure cleaner may struggle to work efficiently. Consider your pool’s size and shape—pressure cleaners are ideal for larger, more complex pools because they cover more surface area quickly. Additionally, think about energy efficiency; pressure cleaners typically consume more power than suction models, so you should determine if your energy setup can handle increased usage without skyrocketing costs. By understanding your pool’s chemistry and energy capabilities, you’ll guarantee a smooth changeover and best cleaning performance. Moreover, assessing the compatibility of your pool with pressure cleaning systems ensures optimal operation and longevity of your equipment. Evaluating your pool’s filtration system can also help determine if it supports the increased water flow required for pressure cleaning. Ensuring your pool’s water flow rate aligns with the pressure cleaner’s specifications can significantly improve cleaning effectiveness and equipment durability. Additionally, a proper assessment of your pool’s overall maintenance routine can help identify potential challenges and streamline the transition process. For example, understanding the types of debris commonly found in your pool can influence the choice of the pressure cleaner’s features and filtration needs.
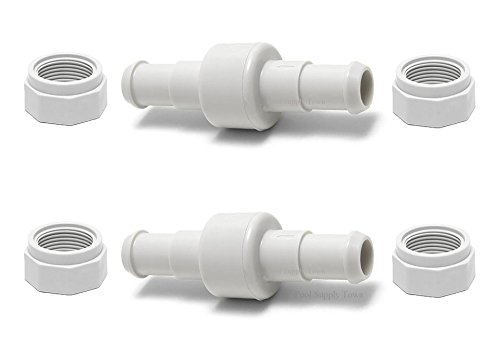
ATIE 280, 380, 180 Pool Cleaner Hose Swivel D20 and Hose Nut D15 Combo Kit Replacement For Zodiac Polaris 280, 380, 180 Pool Cleaners (2 Pack)
Package included: 2 hose swivel D20 and 4 hose nut D15 for Polaris 280, 380, 180 pool cleaner
As an affiliate, we earn on qualifying purchases.
As an affiliate, we earn on qualifying purchases.
Gathering Necessary Tools and Replacement Parts
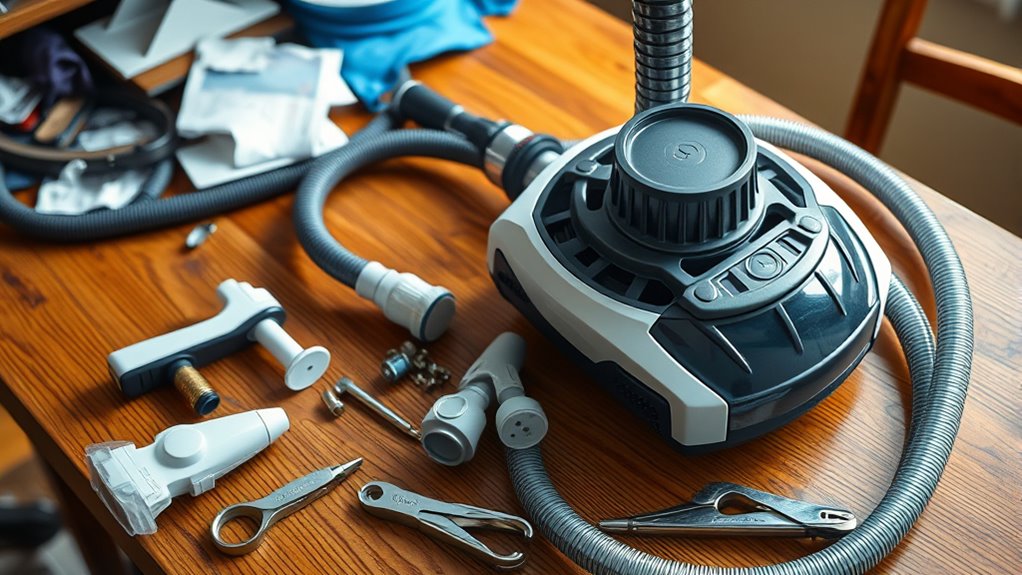
To switch from a suction to a pressure pool cleaner, you’ll need to gather the right tools and replacement parts to guarantee a smooth installation. Make sure you have the correct pressure hose, hose fittings, and a compatible cleaner model. Check your pool’s chemical levels and water temperature, as these affect cleaner efficiency. Prepare a wrench, screwdriver, and pliers for assembly. Keep spare parts like o-rings and seals handy. Proper preparation ensures your new cleaner works effectively and lasts longer. Additionally, understanding the different types of Kia Tuning technologies can help you choose the best modifications for enhanced vehicle performance and aesthetics.

Spa Part Nylon Mesh Pool Cleaner All Purpose Bag – Fits Polaris 280, 480 Cleaner – Zippered K13 K16 (2)
OEM part same Same size (pocket, zipper opening, and snap-in plastic clip).
As an affiliate, we earn on qualifying purchases.
As an affiliate, we earn on qualifying purchases.
Removing Your Existing Suction Pool Cleaner
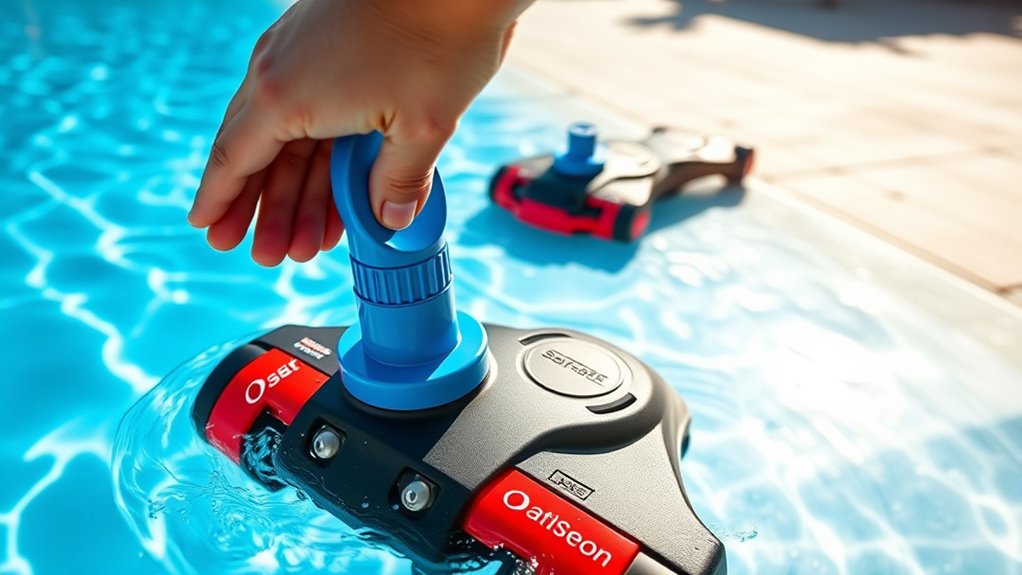
Start by turning off your pool pump to prevent water flow. Next, carefully remove the cleaner hose from the skimmer or dedicated suction line. Once it’s out, give the pool surface a quick clean to keep debris from settling during the switch. Utilizing the appropriate maintenance procedures ensures your pool equipment remains efficient and prolongs its lifespan. Additionally, inspecting the hoses and connections for any wear or damage can help prevent potential issues when switching to a pressure pool cleaner. Being aware of system compatibility can also help ensure the new cleaner functions properly, especially considering noise levels of modern heat pumps can influence surrounding comfort and system operation.
Turn Off Pool Pump
When removing your suction pool cleaner, turn off the pool pump to prevent water from flowing and guarantee safety. This step is essential regardless of your pool size or cleaning frequency. Turning off the pump stops water circulation, making it easier to detach the cleaner without creating a mess or risking injury. If you have a larger pool, ensure the pump runs long enough to fully drain some water, easing removal. For smaller pools, turning off the pump quickly is especially important to avoid water splashing or losing control of the cleaner. Always confirm the pump is off before disconnecting the hose or removing the cleaner itself. This simple step keeps you safe while preparing for the switch to your pressure pool cleaner. Additionally, understanding how your pool equipment functions can help prevent damage during the removal process, especially when considering system compatibility and proper operation. Being familiar with cleaner types can also help you choose the most effective replacement system for your pool. Knowing the maintenance procedures can also prolong the lifespan of your new pressure cleaner and ensure optimal performance. It’s also advisable to consult your manufacturer instructions to ensure proper handling and safety measures specific to your equipment.
Remove Cleaner Hose
Before removing your suction pool cleaner, detach the hose from the skimmer or suction port. Begin with hose removal by carefully disconnecting it from the fitting. If the hose has a connector adjustment, loosen or release it to free the hose easily. Check for any clips or clamps holding the hose in place and remove them if necessary. Gently pull the hose away from the skimmer or suction port, making sure not to damage the connector or the pool fittings. Keep the hose straight to avoid kinks or tears. Properly storing the hose afterward will ensure it stays in good condition for future use. Additionally, digital literacy programs can help ensure proper handling and storage of pool equipment. This step clears the way for installing your pressure pool cleaner smoothly. Be mindful of poolside entertaining to ensure your area remains safe and organized during maintenance. Additionally, ensuring proper machine learning tools can help streamline pool maintenance processes in the future.
Clean Pool Surface
To effectively remove your existing suction pool cleaner, begin by inspecting the pool surface for any debris or obstacles that might hinder the removal process. Clear out leaves, dirt, and large objects to prevent jams or damage. Check the pool’s chemical balance; properly balanced water helps prevent algae buildup and keeps surfaces clean. A clean surface makes it easier to detach the cleaner and ensures no debris is left behind.
- Remove any visible algae or algae spores to avoid future growth
- Brush the pool walls and floor to loosen stubborn dirt
- Ensure the water chemistry is balanced for effective cleaning and algae prevention
- Check for algae-prone areas and treat them before installing your new pressure cleaner
A clean surface promotes better equipment performance and prolongs the lifespan of your pool components.

Poolvio 5-in-1 Pool Cleaning Kit – Includes Semi-Deep Skimmer Net, Aluminum Leaf Rake, 20' Pool Brush with 13ft Adjustable Pole
DELUXE POOL EQUIPMENT: Set includes 1 x 20" detachable pool brush head, 1 x semi-deep pool leaf net,…
As an affiliate, we earn on qualifying purchases.
As an affiliate, we earn on qualifying purchases.
Preparing the Pressure Pool Cleaner for Installation

Before installing your pressure pool cleaner, you need to verify all equipment components for any damage or loose parts. Make sure your power supply is compatible and provides consistent voltage to avoid operational issues. Taking these steps now helps ensure a smooth and efficient setup.
Inspect Equipment Components
Inspecting the equipment components thoroughly guarantees your pressure pool cleaner is ready for installation. Begin with a filter inspection to ensure the filter is clean and free of debris, which helps maintain optimal flow. Check hose compatibility by verifying that hoses fit securely and are free of cracks or leaks. Examine all connections, including fittings and clamps, to prevent leaks during operation. Inspect the cleaner’s debris chamber and brushes for damage or wear, ensuring they’ll function properly. Confirm that the swivel joints rotate smoothly, avoiding tangling or resistance. Finally, inspect the impeller for obstructions. These steps help guarantee your pressure pool cleaner operates efficiently and lasts longer. Proper inspection minimizes troubleshooting later and ensures a smooth transition from your previous cleaning system.
Ensure Proper Power Supply
Ensuring your pressure pool cleaner has a proper power supply is essential for reliable operation. Start by verifying that your power source meets the cleaner’s voltage and amperage requirements. Using the correct electrical outlet prevents damage and guarantees ideal performance. Always check that the power cord is in good condition, with no frays or exposed wires, to maintain electrical safety. Confirm that the outlet is grounded properly to avoid electrical hazards. If you’re using an extension cord, ensure it’s rated for outdoor use and matches the cleaner’s power needs. Properly securing the connection reduces the risk of shorts or electrical shocks. Taking these precautions guarantees a safe setup, helping your pressure pool cleaner operate smoothly and efficiently.
Connecting the Pressure Cleaner to Your Pool’s Circulation System
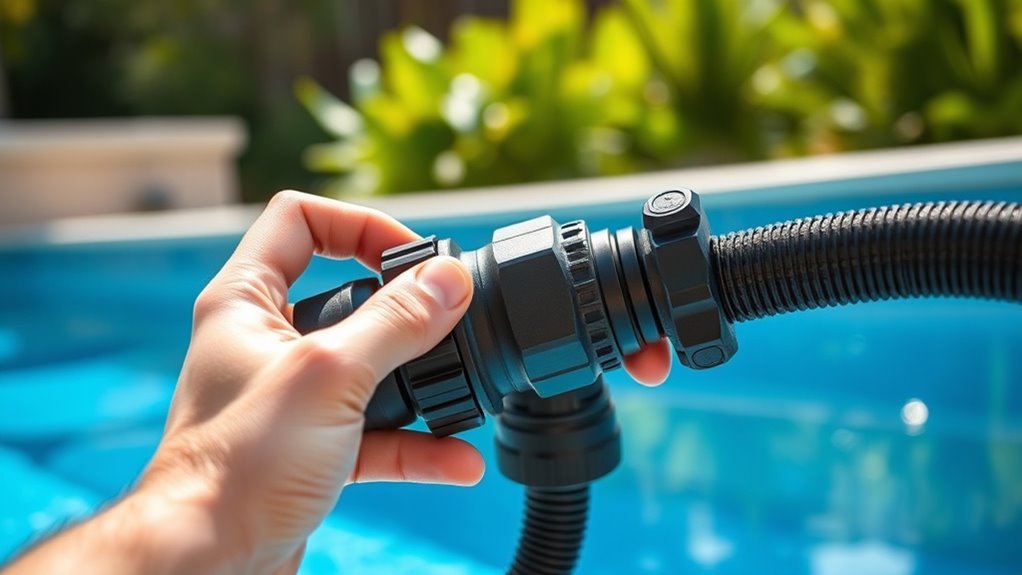
Connecting your pressure pool cleaner to the circulation system is a straightforward process that guarantees ideal cleaning performance. First, verify the hose compatibility with your cleaner and pool setup to prevent leaks or fitting issues. Check that your pump capacity is sufficient to handle the added demand without reducing overall flow. Attach the hose securely to the cleaner and the dedicated pressure port or skimmer fitting, ensuring tight connections. Verify that the hose length allows full coverage of the pool without kinks or tangles. Finally, confirm that the pressure is adequate for optimal operation without straining your pump or causing leaks. Proper connections help your cleaner work efficiently, saving you time and effort during maintenance.
Adjusting Settings for Optimal Cleaning Performance

Once your pressure pool cleaner is connected, adjusting its settings properly can make a big difference in cleaning performance. Focus on water flow and pressure settings to maximize coverage and efficiency. Too much pressure can cause the cleaner to race over surfaces, missing spots, while too little reduces cleaning power. Start by increasing the water flow gradually, ensuring the cleaner moves steadily without losing traction. Use the control valve or pressure regulator to fine-tune the pressure, aiming for a balance that allows the cleaner to reach all pool areas. Regularly monitor the cleaner during operation to make sure it’s moving smoothly. Adjustments might be needed depending on pool size, shape, and debris level. Keep these settings in check for the best cleaning results.
| Water Flow | Pressure Settings | Effect on Cleaner |
|---|---|---|
| Low | Low | Slow movement, missed spots |
| Low | High | Excessive speed, poor coverage |
| High | Low | Insufficient cleaning power |
| High | High | Ideal cleaning performance |
| Moderate | Moderate | Balanced and effective |
Testing the System and Making Necessary Adjustments
Before you start cleaning, it’s essential to test the system to make sure everything is working correctly. Begin with sensor calibration to ensure your pressure cleaner responds accurately to water flow and obstacles. Perform pressure testing by running the system and checking for leaks or weak spots in hoses and connections. Observe the pressure gauge to verify it stays within the recommended range. Adjust the pressure settings if needed, based on these tests. Also, confirm that sensors are detecting surfaces properly and activating the cleaner at the right times. Keep an eye on water flow and pressure levels to prevent issues during operation. Proper testing and adjustments help optimize performance and prolong your pressure cleaner’s lifespan.
Establishing a Maintenance Routine for Your New Pressure Cleaner
Establishing a regular maintenance routine is essential to keep your new pressure cleaner operating efficiently and extending its lifespan. Consistently check and clean the filter to prevent clogs and guarantee optimal suction. Regular filter maintenance improves performance and saves energy. Additionally, maintaining proper chemical balancing in your pool helps prevent debris buildup and protects your equipment.
Here’s a simple routine to follow:
| Task | Frequency |
|---|---|
| Filter cleaning | Weekly |
| Chemical balancing | Twice a week |
| Inspect hoses and seals | Monthly |
| General system check | Monthly |
Sticking to this routine ensures your pressure cleaner runs smoothly, stays durable, and keeps your pool sparkling clean.
Frequently Asked Questions
How Long Does Installation Typically Take?
The installation duration for your pool cleaner varies depending on your setup, but it generally takes about 1 to 2 hours. During the setup process, you’ll connect hoses, secure the cleaner, and test the system to guarantee proper operation. You can expect a straightforward process if you follow the manufacturer’s instructions carefully. Preparing your workspace and having tools ready will help speed up the installation and get your cleaner running smoothly.
Can I Switch Back to a Suction Cleaner Later?
Oh, sure, you can always switch back to a suction cleaner—if you enjoy frequent maintenance tips and compatibility concerns. Just be prepared for some hassle, as your pool equipment might not love the switch. Check your pool’s fittings and verify compatibility. Remember, switching back isn’t always seamless, so weigh the convenience before jumping ship. After all, who doesn’t love a good game of pool tech roulette?
What Safety Precautions Are Necessary During Installation?
During installation, you should prioritize safety by guaranteeing proper electrical grounding to prevent shocks. Always follow the manufacturer’s instructions closely and wear protective gear. Make sure the power is off before connecting any electrical components. Keep the work area dry and free of debris to avoid accidents. Checking for proper grounding and following installation safety guidelines helps protect you and ensures your pool cleaner operates safely and effectively.
Will My Pool’S Plumbing Need Modifications?
When considering your pool’s plumbing, you’ll want to check if it can handle increased water pressure. Pressure pool cleaners often require modifications to your existing pool plumbing, such as installing dedicated lines or adjusting valves to manage higher water flow. If your current system isn’t designed for these changes, you might need to upgrade or reconfigure your plumbing to guarantee ideal performance and prevent issues caused by insufficient water pressure.
How Often Should I Replace Parts on the Pressure Cleaner?
Imagine your pressure pool cleaner gliding smoothly through water, keeping your pool pristine. To maintain this performance, follow a regular maintenance schedule, inspecting parts like hoses, brushes, and seals every few months. Typically, replacement parts are needed annually or as soon as you notice wear or leaks. Staying proactive guarantees your cleaner operates efficiently, extends its lifespan, and keeps your pool sparkling without unexpected breakdowns.
Conclusion
Switching from a suction to a pressure pool cleaner simplifies your cleaning routine, enhances efficiency, and improves your pool’s cleanliness. By evaluating your needs, gathering the right tools, and following each step carefully, you guarantee a smooth transition. Adjust your settings, test your system, and establish maintenance to keep your pool pristine. Embrace the change, enjoy the benefits, and keep your pool sparkling—because a cleaner pool means more relaxing, more enjoyable, and more carefree pool days.